What is Tagging?
“Tagging” in the context of Figma-to-Page Builders workflow refers to the process of assigning unique elements to specific design elements in Figma to map them to corresponding native widgets.
For example, if you label a section in Figma as a “Heading Title,” it indicates that the section should be exported and automatically associated with the “Heading Title” widget in Elementor. This ensures a seamless transition where the design intent is preserved when converted into an Elementor template.
Step-by-step to tag elements
Essential setup
Please ensure that your Figma designs are prepared using “Design Mode” and confirm that they have been published by transitioning them to the “Team Project” section.
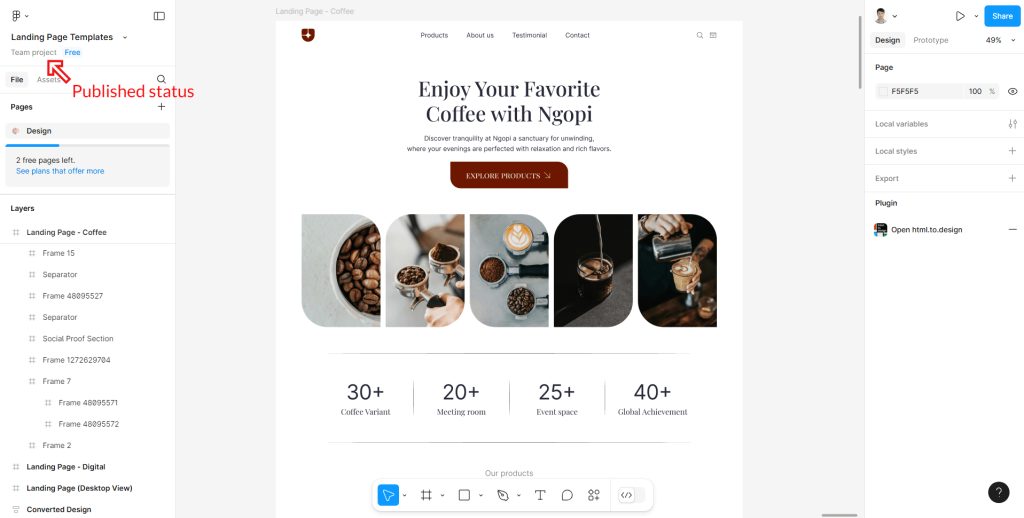
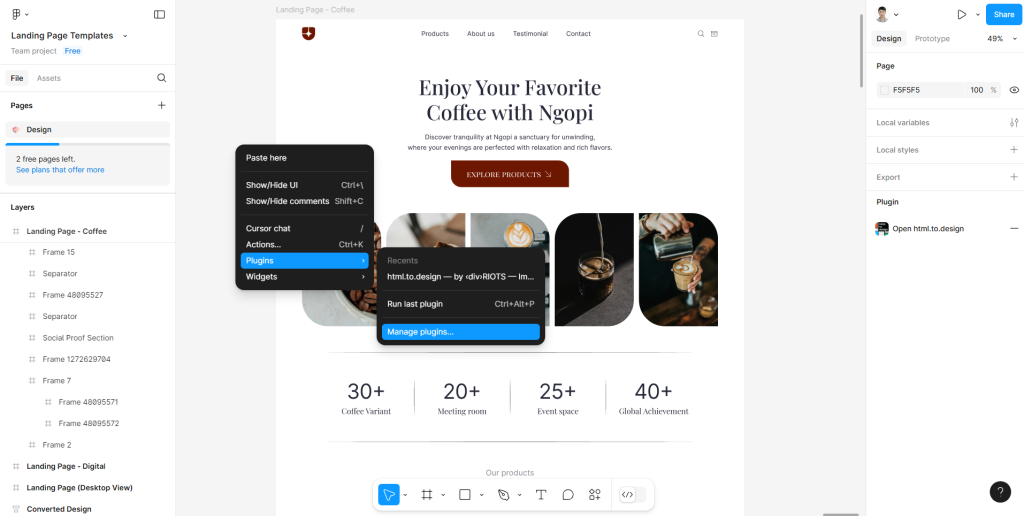
The next essential step is to install our plugin for Figma. Simply right-click on Figma, then navigate to Plugins and select Manage Plugins.
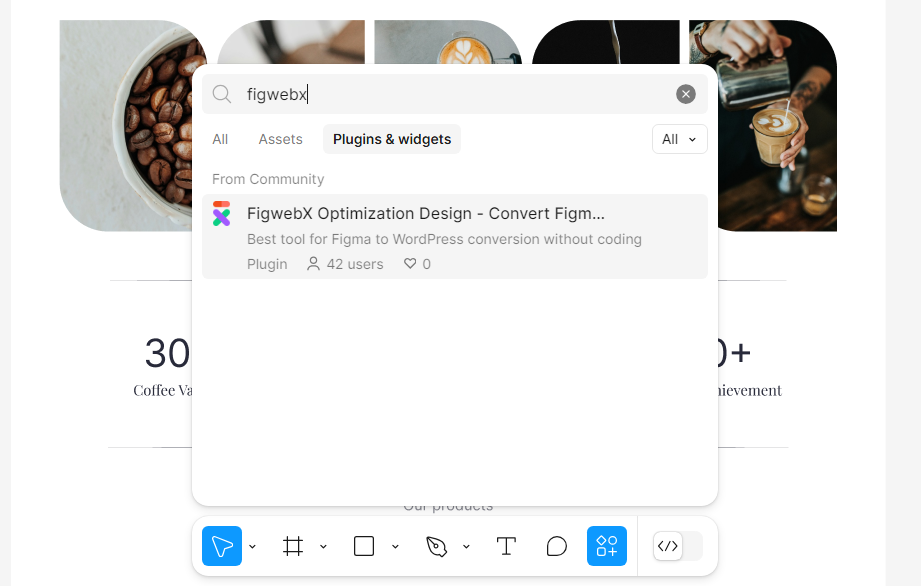
Next, search for the “FigwebX” plugin and proceed with its installation.
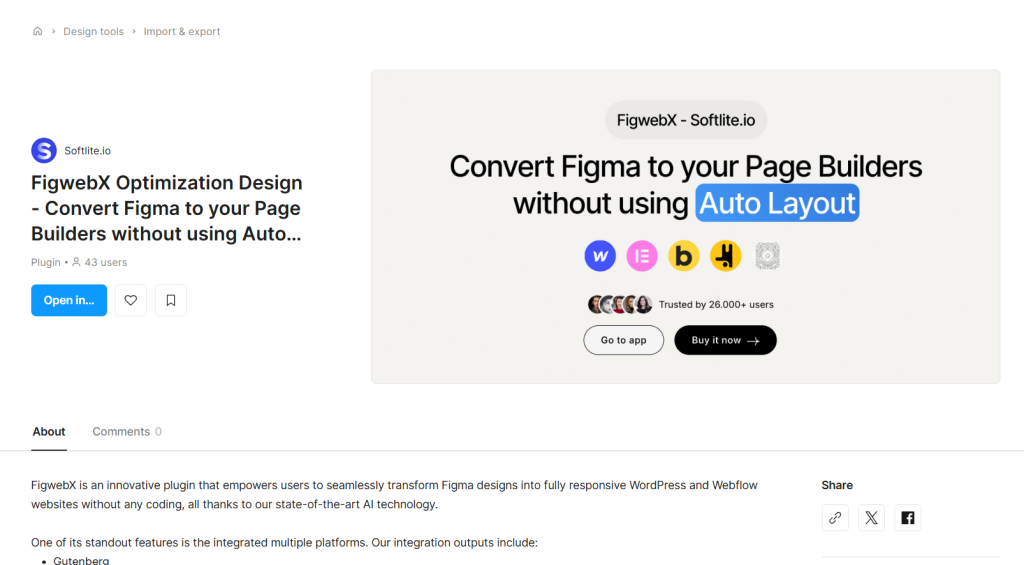
This plugin currently offers a tagging feature specifically for Elementor, with upcoming integrations for Gutenberg, Bricks, Breakdance, and Webflow set to be released soon.
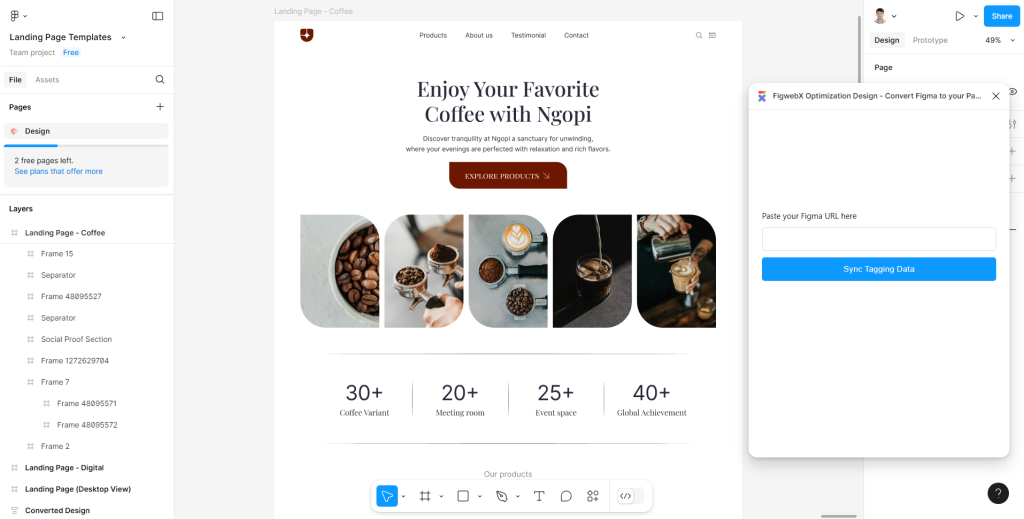
Once the installation is complete, a control panel pop-up will appear. Enter the link to the Figma design to synchronize our application.
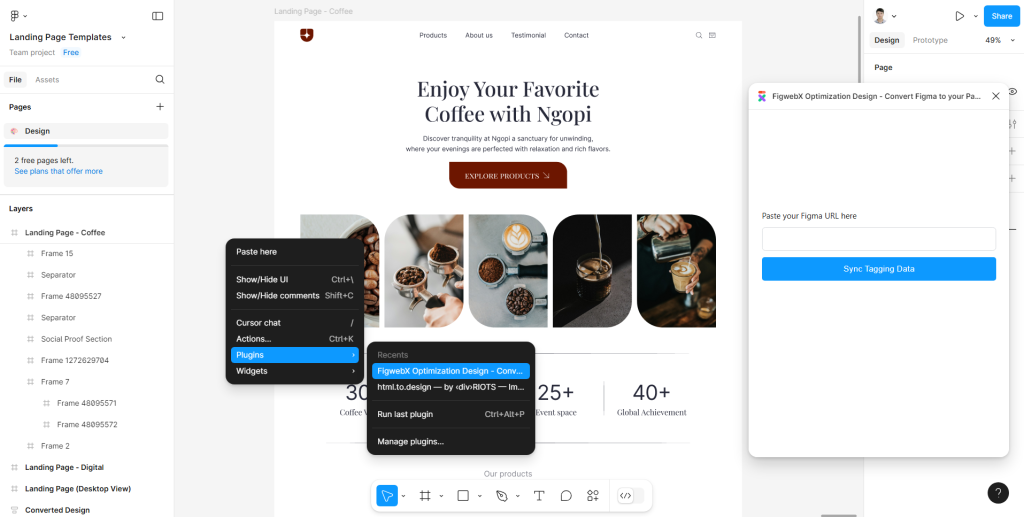
You can easily access this control panel by right-clicking and selecting Plugins > FigwebX.
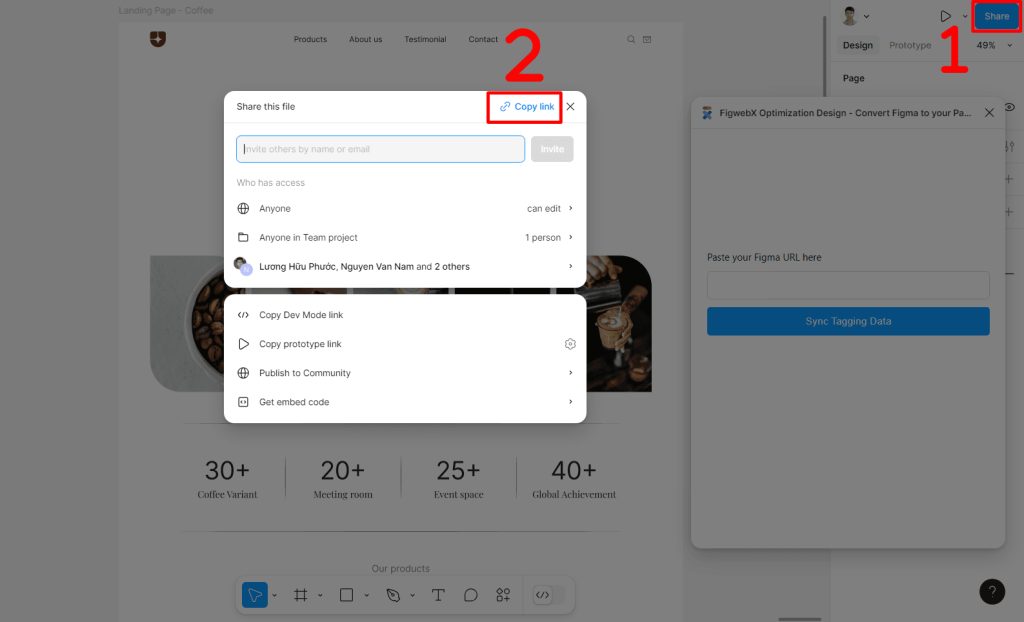
To obtain your current FigwebX design link, simply click the “Share” button and select “copy link,” as shown in our illustration.
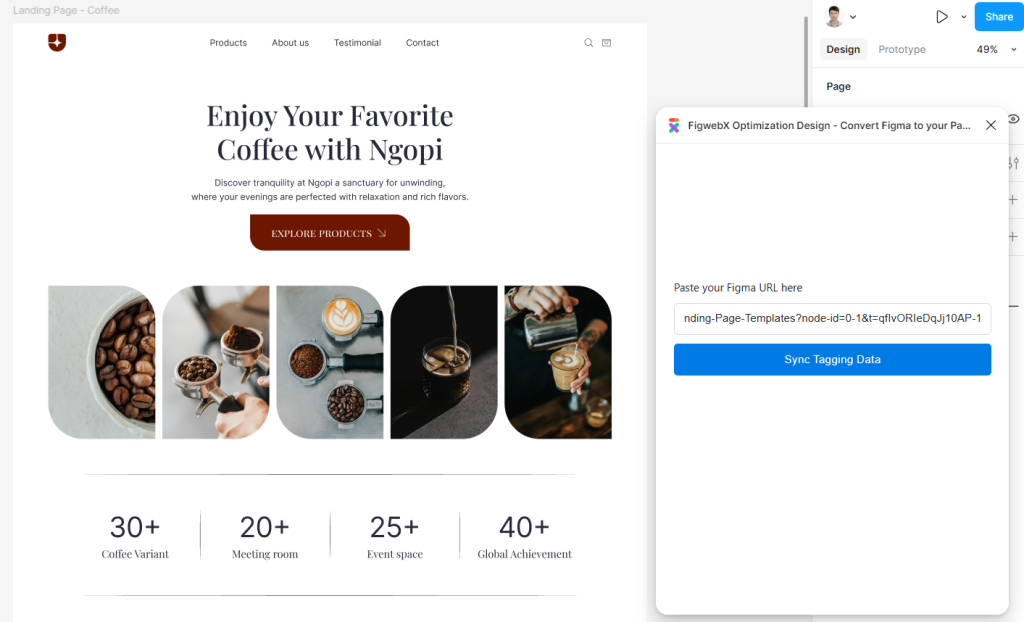
Paste that link into our Control Panel.
You are now being directed to our Tagging dashboard.
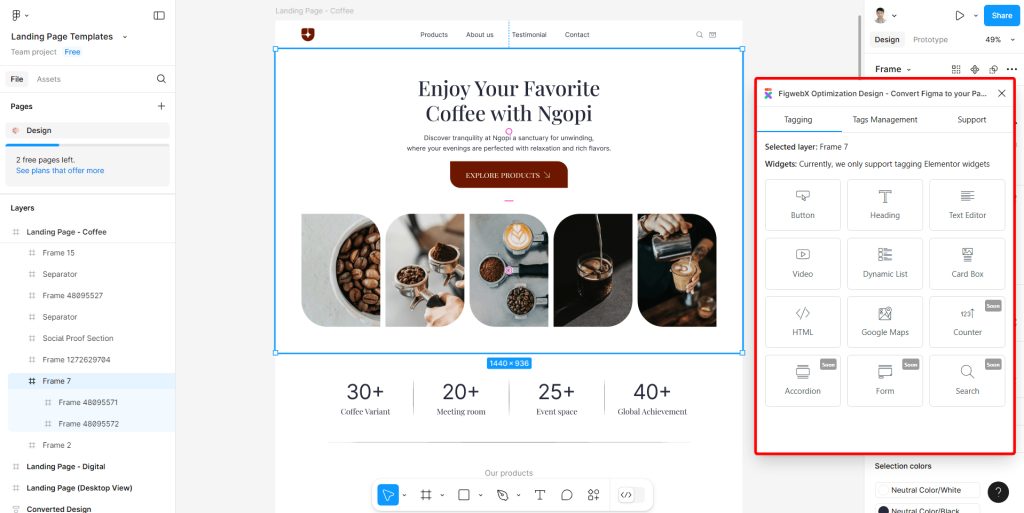
As previously stated, this feature is currently functional with Elementor. Updates to integrate the same functionality with other page builders will be available soon.
Basic Tagging
In this section, we will transform a simple frame by utilizing the Tagging feature, complete with a heading, a button and a Card Box.
Heading
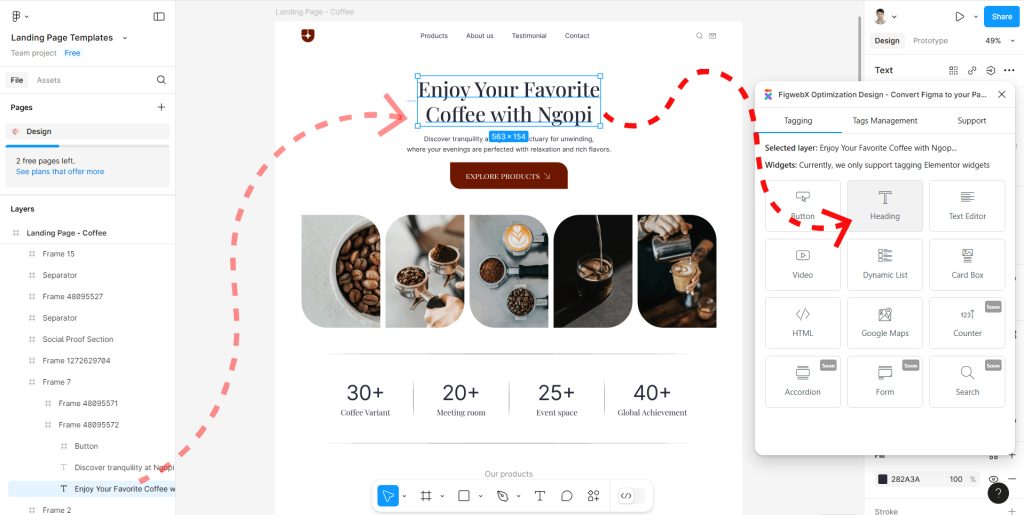
Directly access your Heading element using either the Canvas or Navigation features. Then choose “Heading” on Tagging Tab of our control panel.
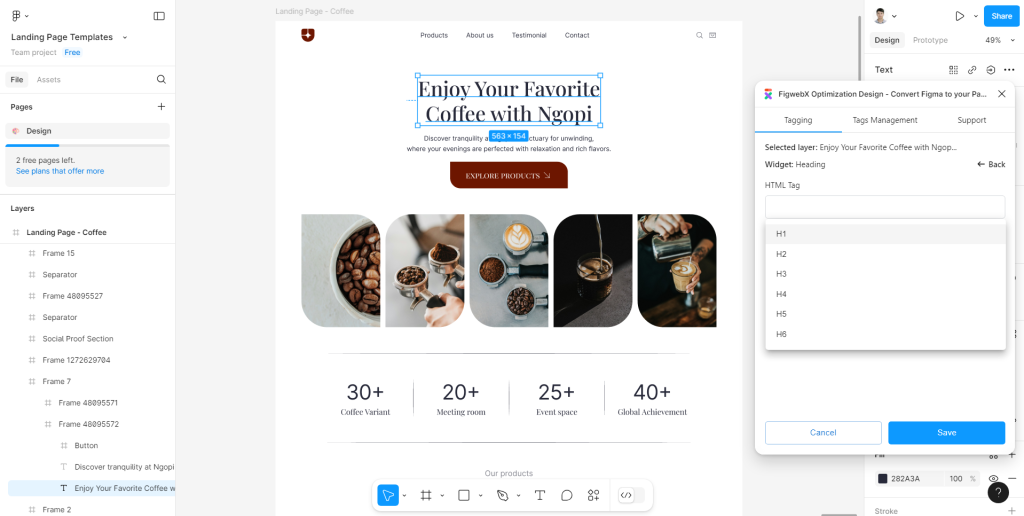
Choose appropriate heading tag level.
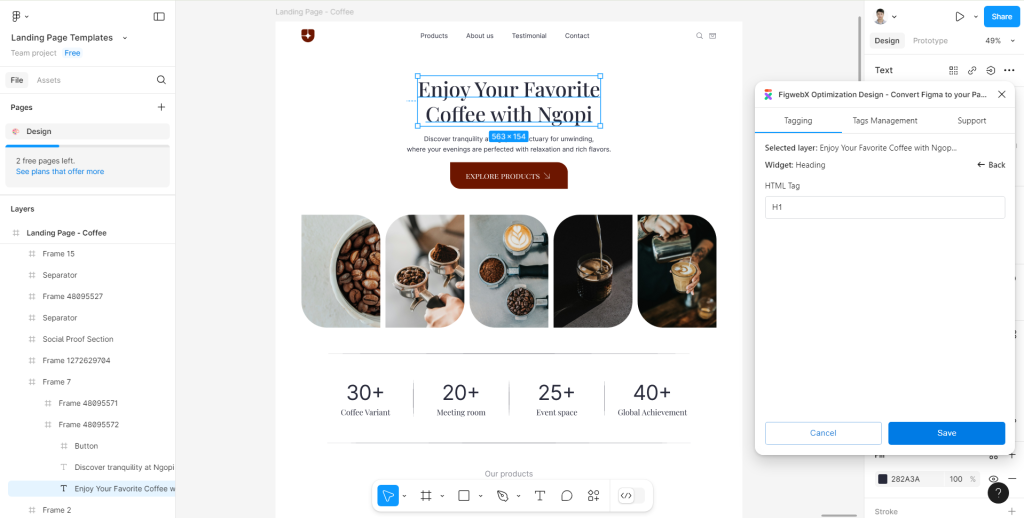
Next, click the “Save” button to complete the heading tagging process.
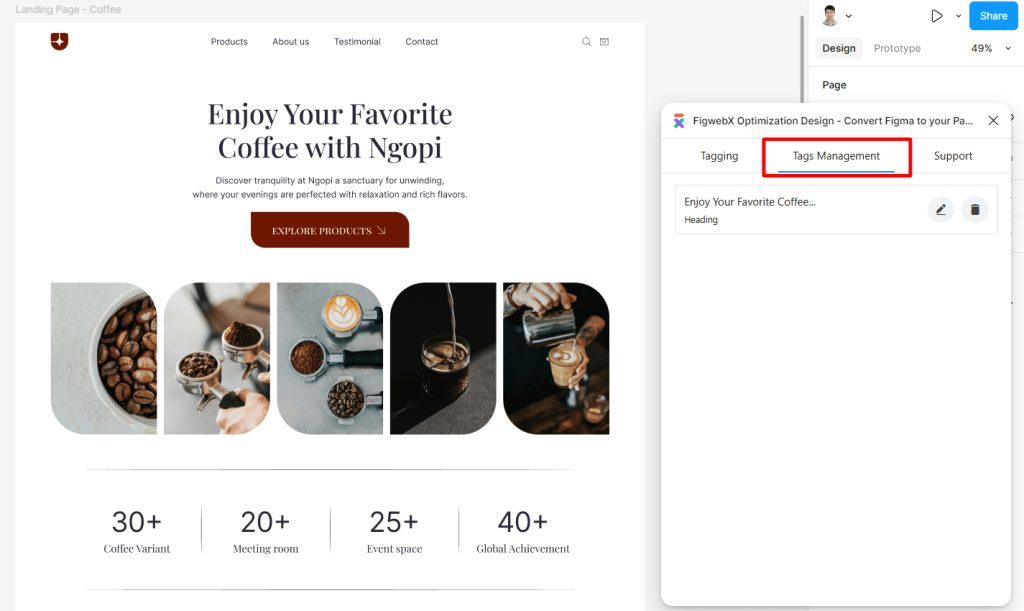
To view the tagged elements, navigate to the Tags Management tab.
Button
Similarly, locate your specific button element and select “button” for tagging.
Consider our example of the button in the Hero section.
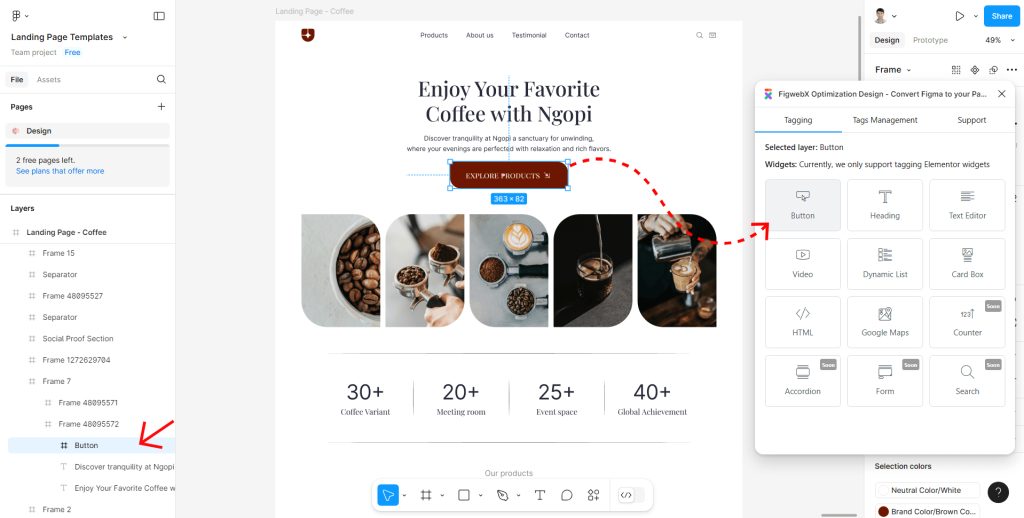
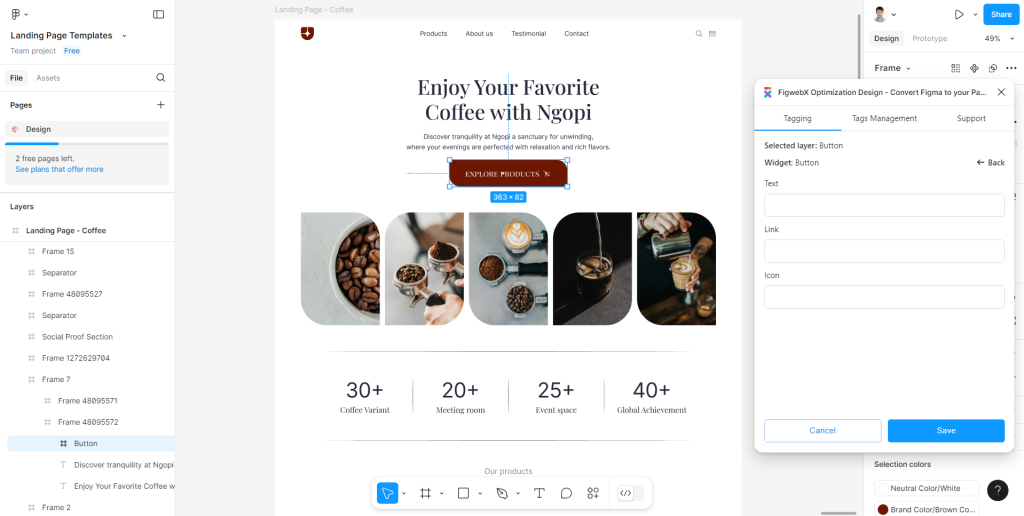
Button Tagging involves three primary components:
- Text, which showcases the button’s content;
- Link, which redirects/directs users to a specific URL;
- And Icon, which enhances the visual appeal with an icon.
Upon clicking the input boxes, dropdown options are displayed.
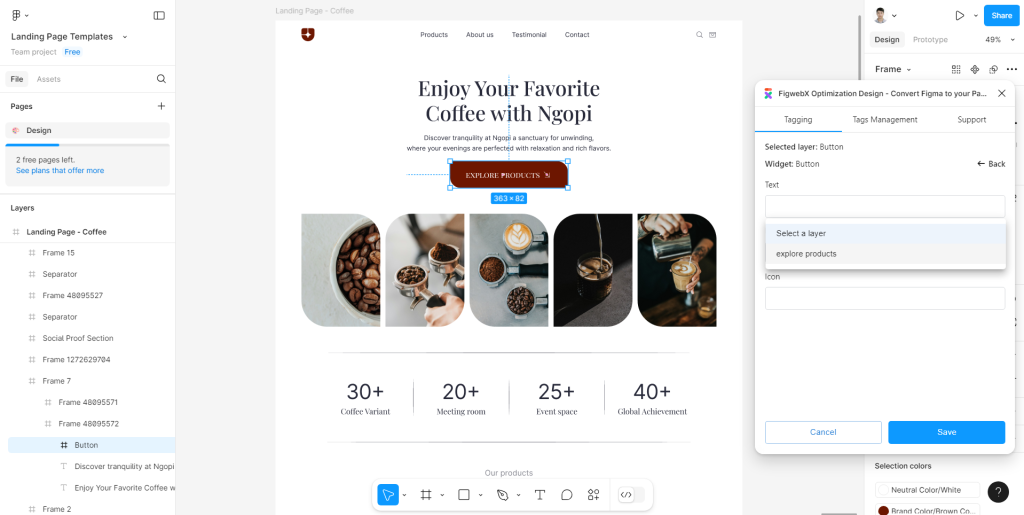
Choose options sequentially based on dynamic inquiries.
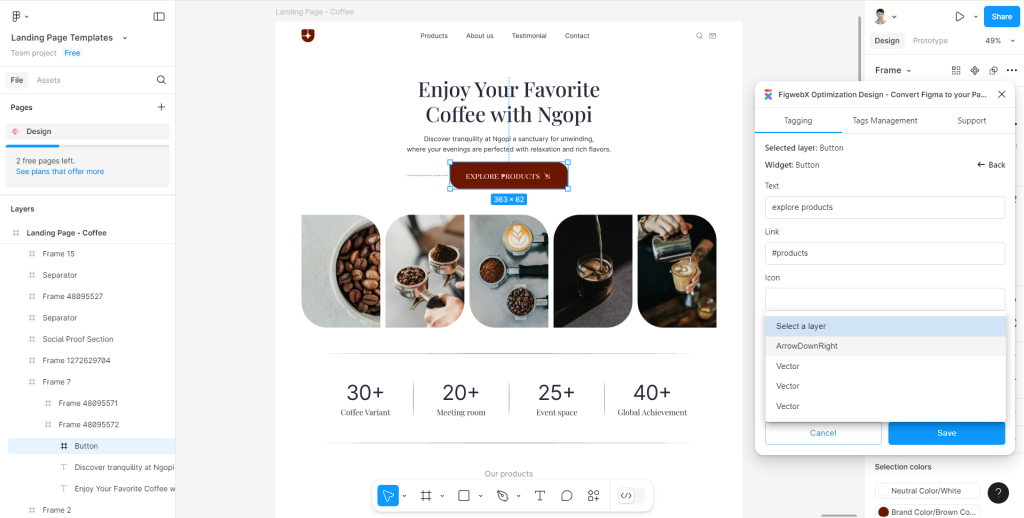
Finally, click the “Save” button to finalize the button tagging process.
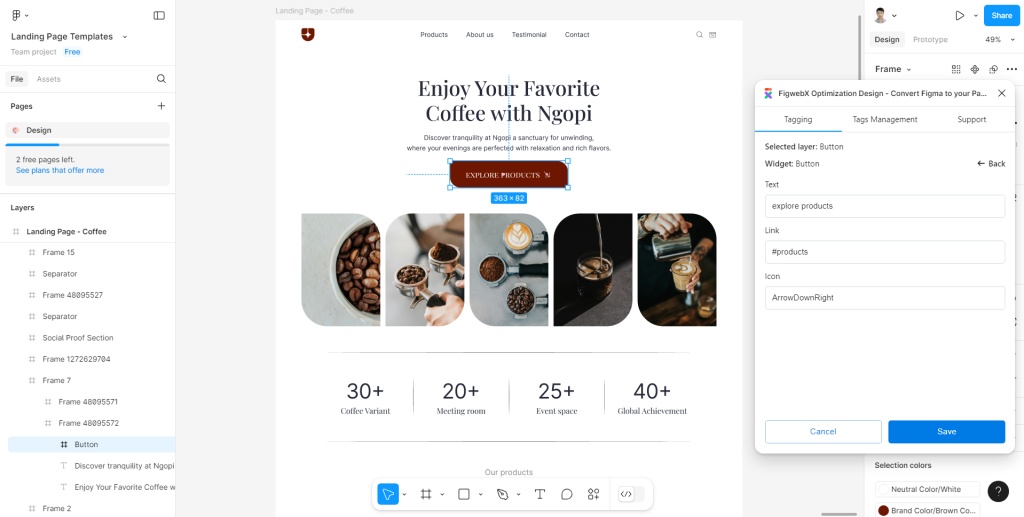
In this stage, let’s migrate this frame into the Elementor Editor.
Transfer data into Elementor
Right-click on either the navigator or canvas, and select “Copy/Paste as” followed by “Copy link to selection.”
In the demo, we are targeting a Hero Frame called “Frame 7”.
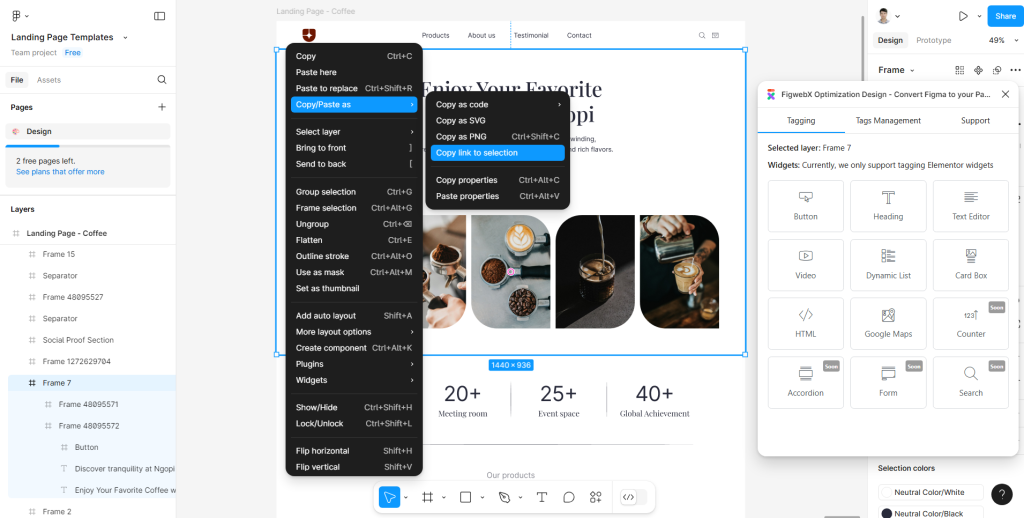
Head over to our FigwebX dashboard.
Create a new task.
-> Paste your Figma design section link in the first box (Selection)
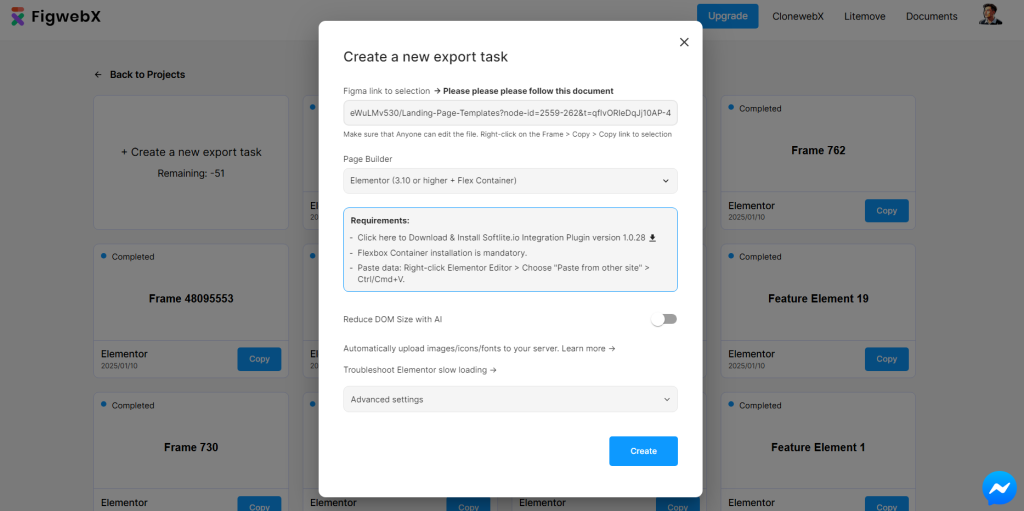
Click on “Create” and wait a few minutes.
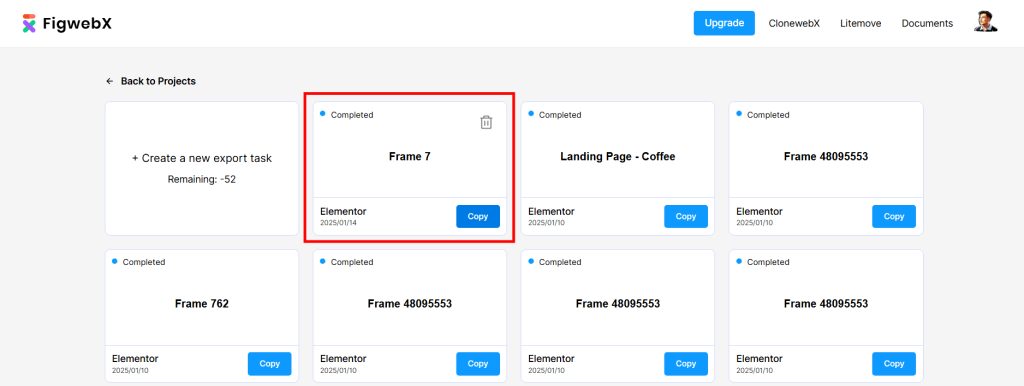
Once the export process is complete, you’ll be able to copy and paste the data into your desired location.
Card Box
Card Box empowers users to present information in an attractive and engaging way through the use of icons, titles, and descriptions.
You have the flexibility to choose from a diverse range of icons or upload your own custom designs, combine them with compelling titles, and offer insightful descriptions.
This widget is comparable to the Icon Box, Image Box, and Call to Action widgets found in Elementor Pro.
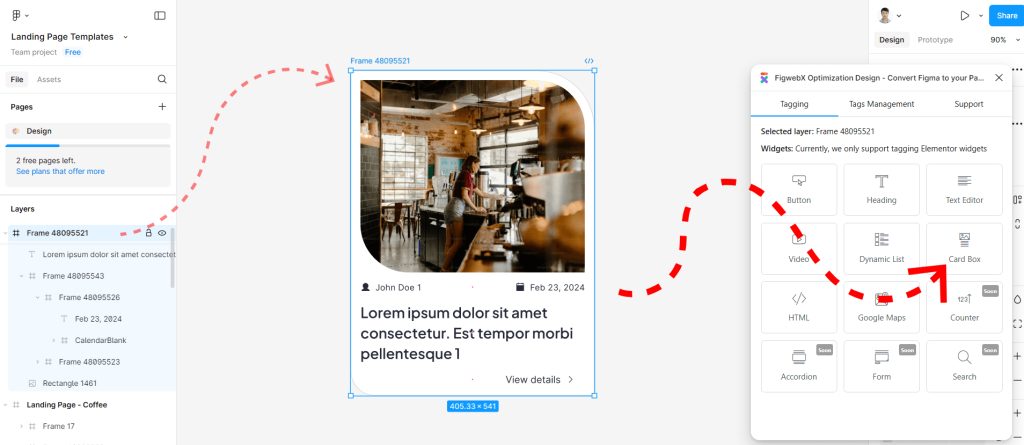
Identify the exact parent wrapper frame and choose “Card Box” for tagging purposes.
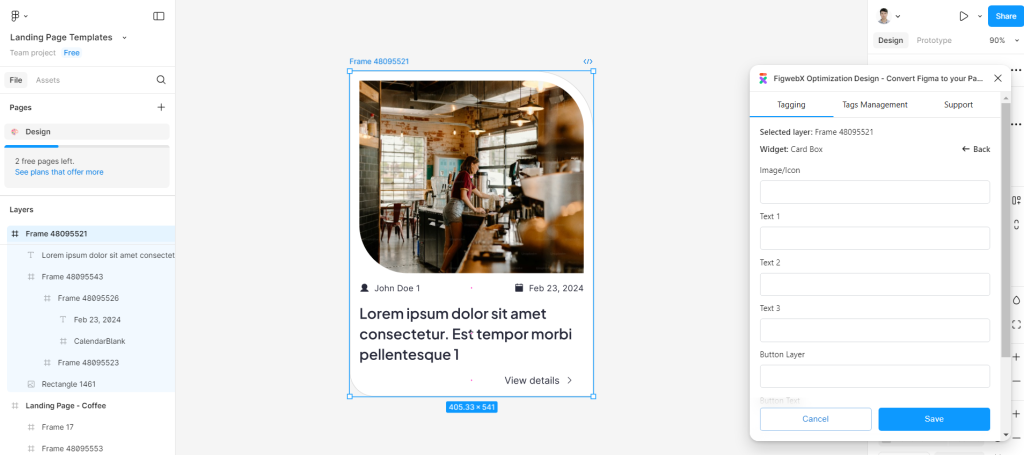
Choose appropriate inputs sequentially in response to dynamic queries.
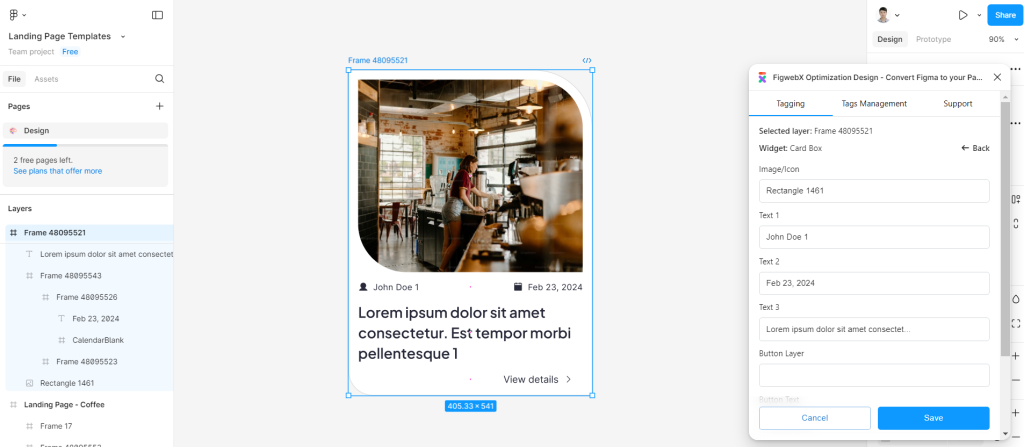
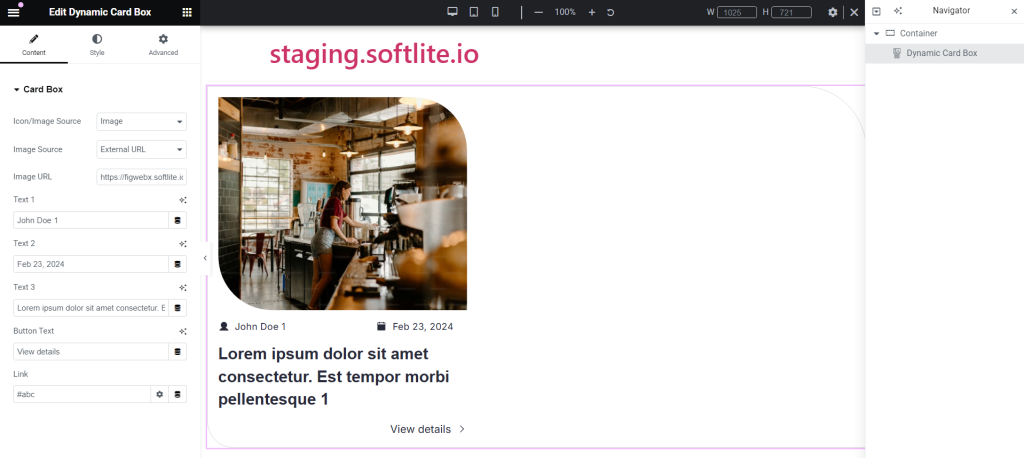
Figma design compared with result in Elementor
In the demonstration, the Heading, Button and Card Box elements designed in Figma seamlessly convert into native Elementor widgets with just a few simple steps.
If you’re familiar with other design tools, you’ll appreciate that “auto-layout” does not require additional setup, streamlining your workflow and saving you valuable time.
Advanced Tagging
At this stage, you may have grasped the basics of tagging elements. Now, the challenge increases as you encounter more complex elements.
Dynamic List
The Dynamic List feature enables you to showcase a curated selection of blog posts or any custom post types on your website.
This widget works the same as Posts-widget-pro, Icon List, Post Grid of Elementor.
This versatile widget provides a wealth of customization options, empowering you to decide how your posts are presented. You can tailor the look of each post, including the title, featured image, excerpt, and much more, ensuring a unique and engaging experience for your visitors.
The most significant advantage of using this widget is the ability to optimize the Elementor DOM.
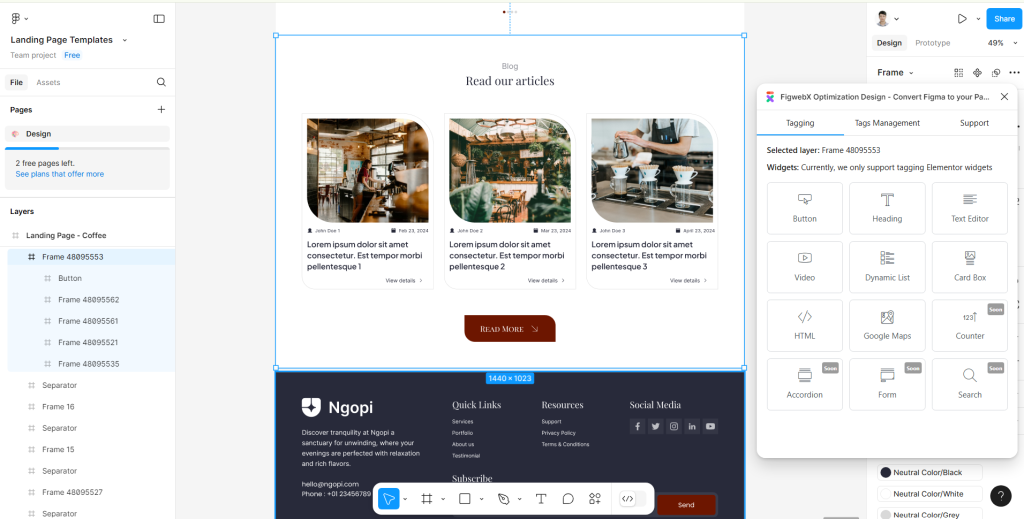
Let’s analyze the illustration above. In this frame design, we have three posts that we aim to convert into an Elementor widget.
Each post features repeater elements, including images, texts or headings, and a “Read More” button (view details).
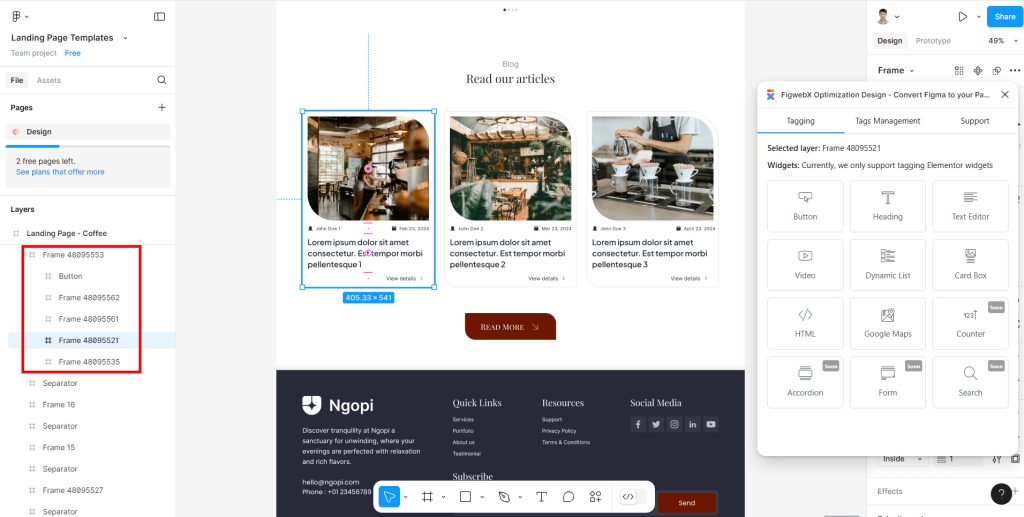
Before tagging these repeater elements, ensure that there is a wrapper parent for them in the Figma design.
This wrapper parent will function as the parent repeater.
In the demo, there are two additional elements aside from the repeaters. Therefore, it’s essential to separate these repeaters effectively.
Next, select the Parent Frame of the Repeaters and tag it as “dynamic list.”
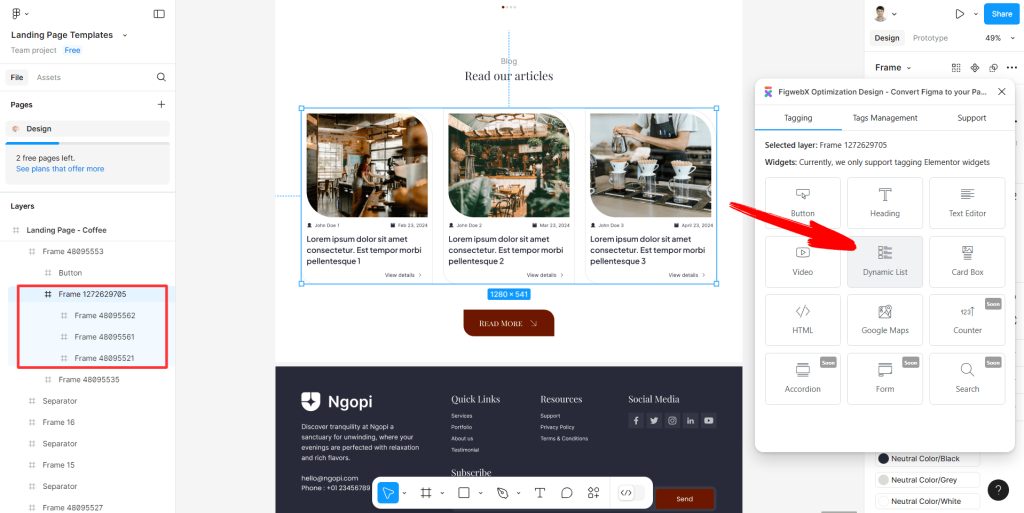
Item Wrappers are linked to individual posts. If your Figma design features multiple posts, each will have its own associated item wrapper.
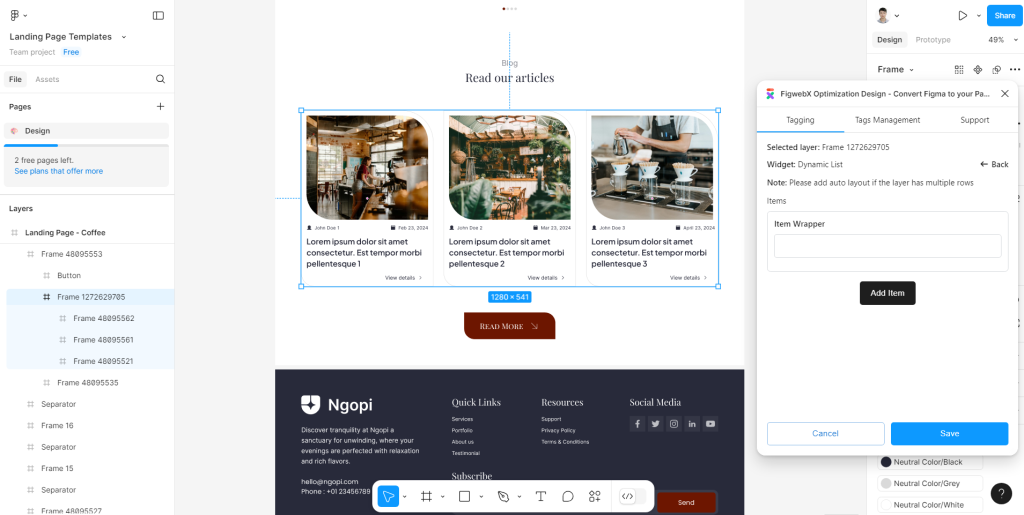
First Item Wrapper
Ensure that all layers and frames are intricately interconnected.
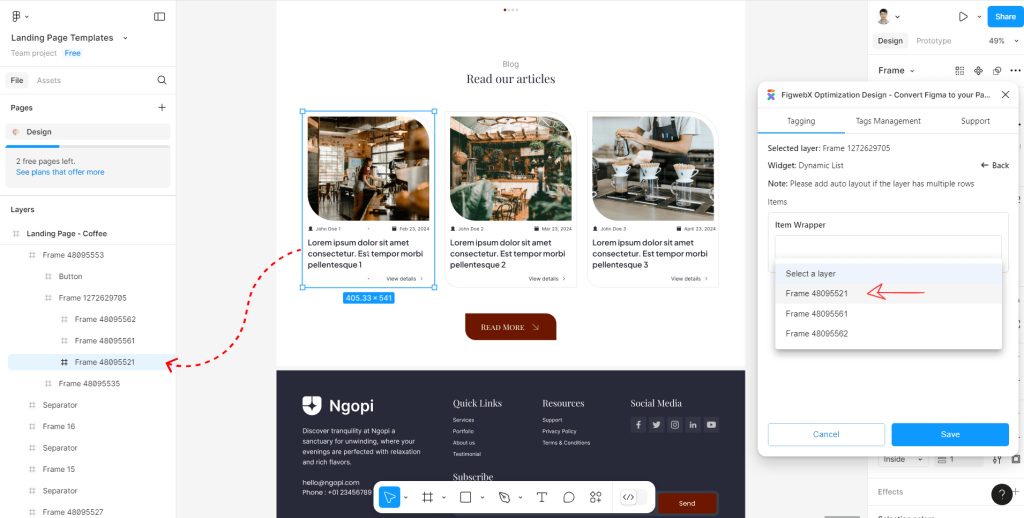
Select suitable inputs sequentially based on dynamic inquiries.
Replicate the same process for the upcoming Item Wrappers.
Second Item Wrapper
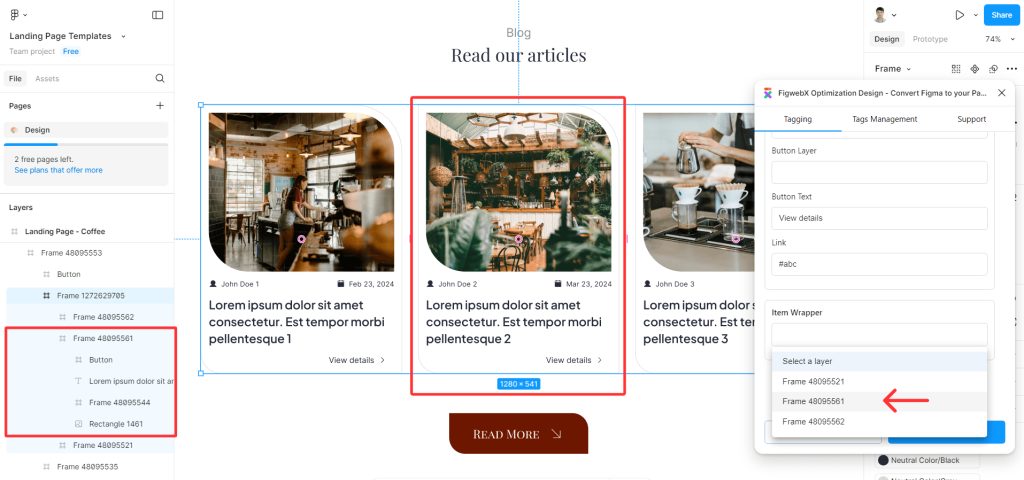
Tagging for second repeater.
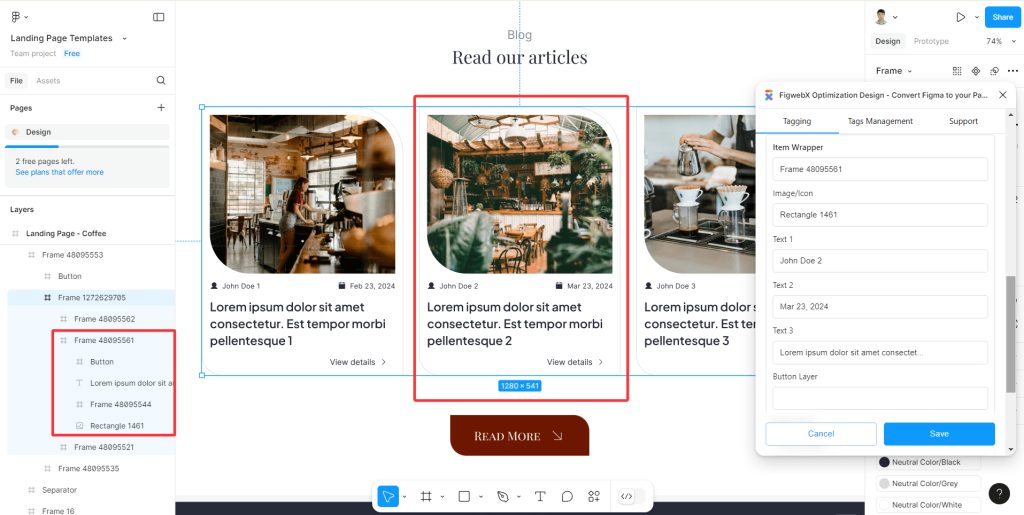
Change content here
Third Item Wrapper
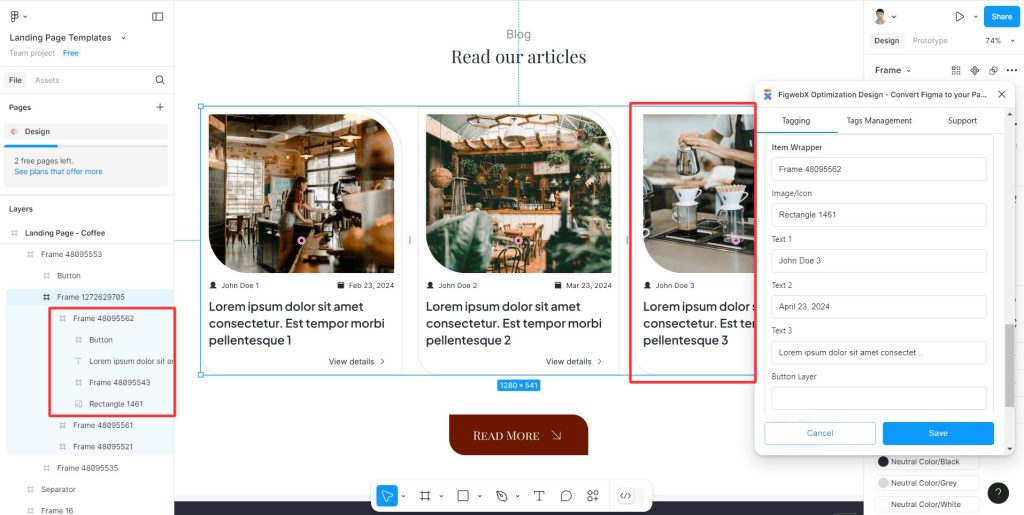
Once you have tagged all the item wrappers, click “save” to finalize the process.
Transfer data into Elementor
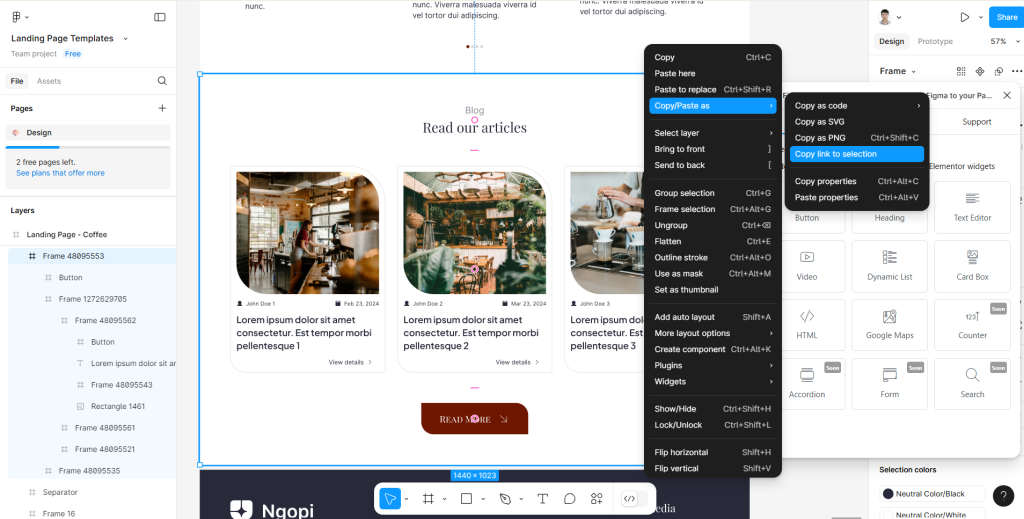
We can now export data into Elementor and evaluate the results.
Additional function of Dynamic List widget
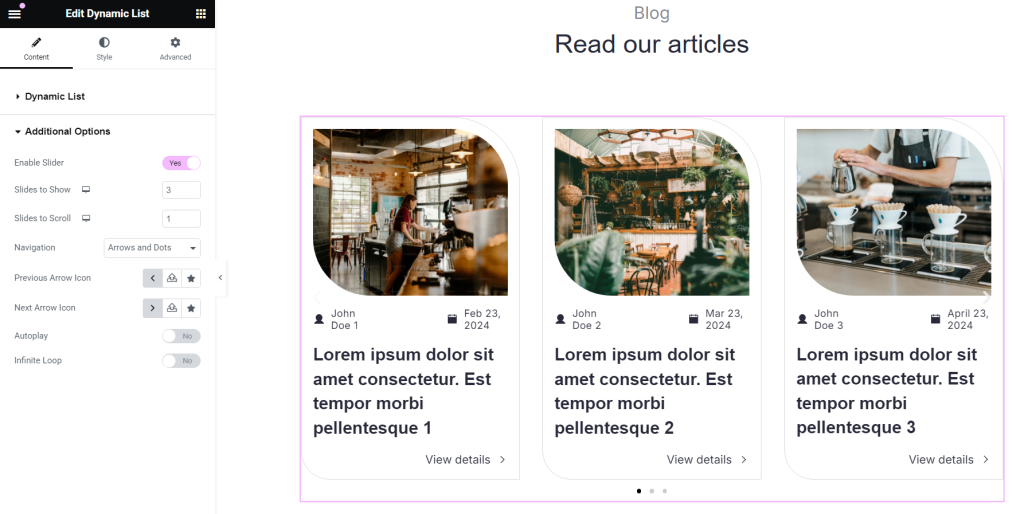
In the Elementor Editor, you can elevate this widget by transforming it into an Image Carousel or Testimonial Carousel by simply activating the “slider function.”
 Skip to main content
Skip to footer