After successfully transferring data from FigwebX to Page Builders, you will discover that both the Image and Icon widgets/elements still maintain their source URL links intact.
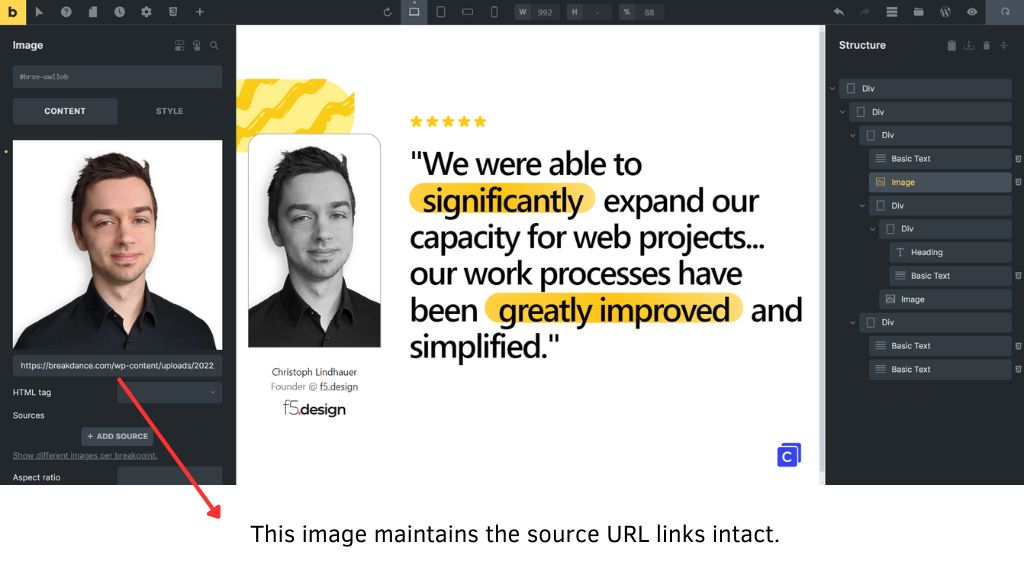
- Situation 1: You can manually replace these images/icons with your own.
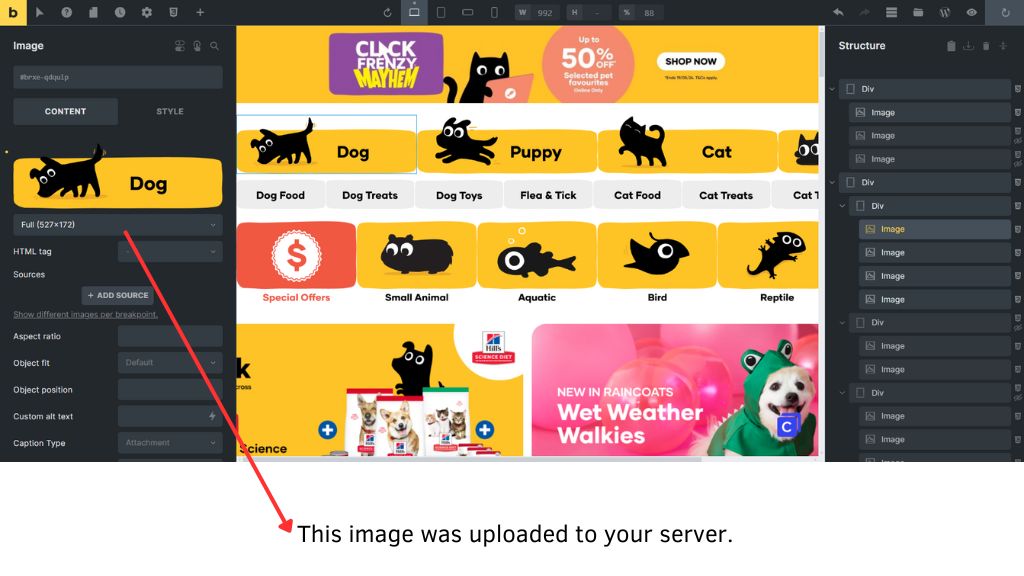
- Situation 2: To use these images/icons without relying on the source domains, you need to upload them to your server.
Our solution provides a comprehensive guide for achieving this.
WordPress
Elementor, Breakdance, Bricks and Gutenberg have the same process.
Requirement Installation
To apply this method in WordPress, please install our plugin.

Process Steps
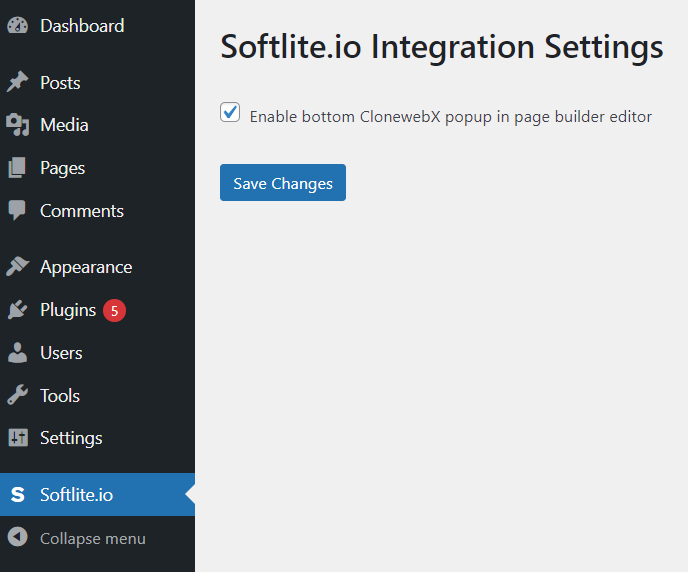
In Wordpress dashboard, access Softlite section -> enable this feature
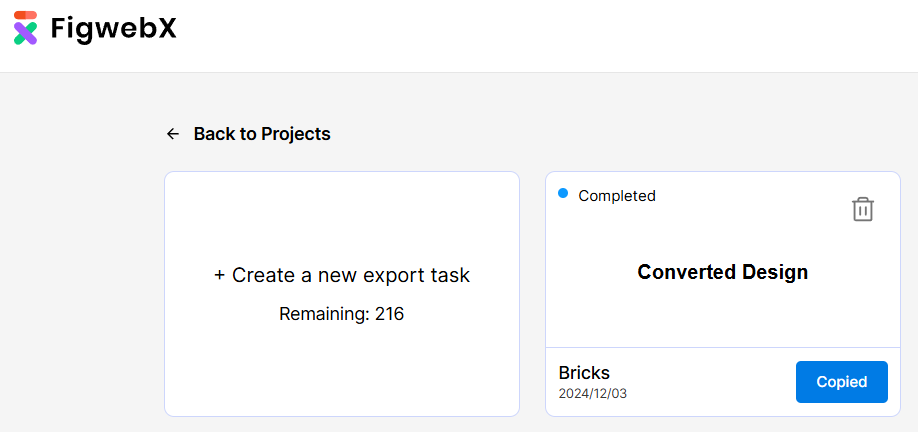
In the FigwebX tasks, copy your aimed conversion data to the clipboard.
Head over to your target site editor.
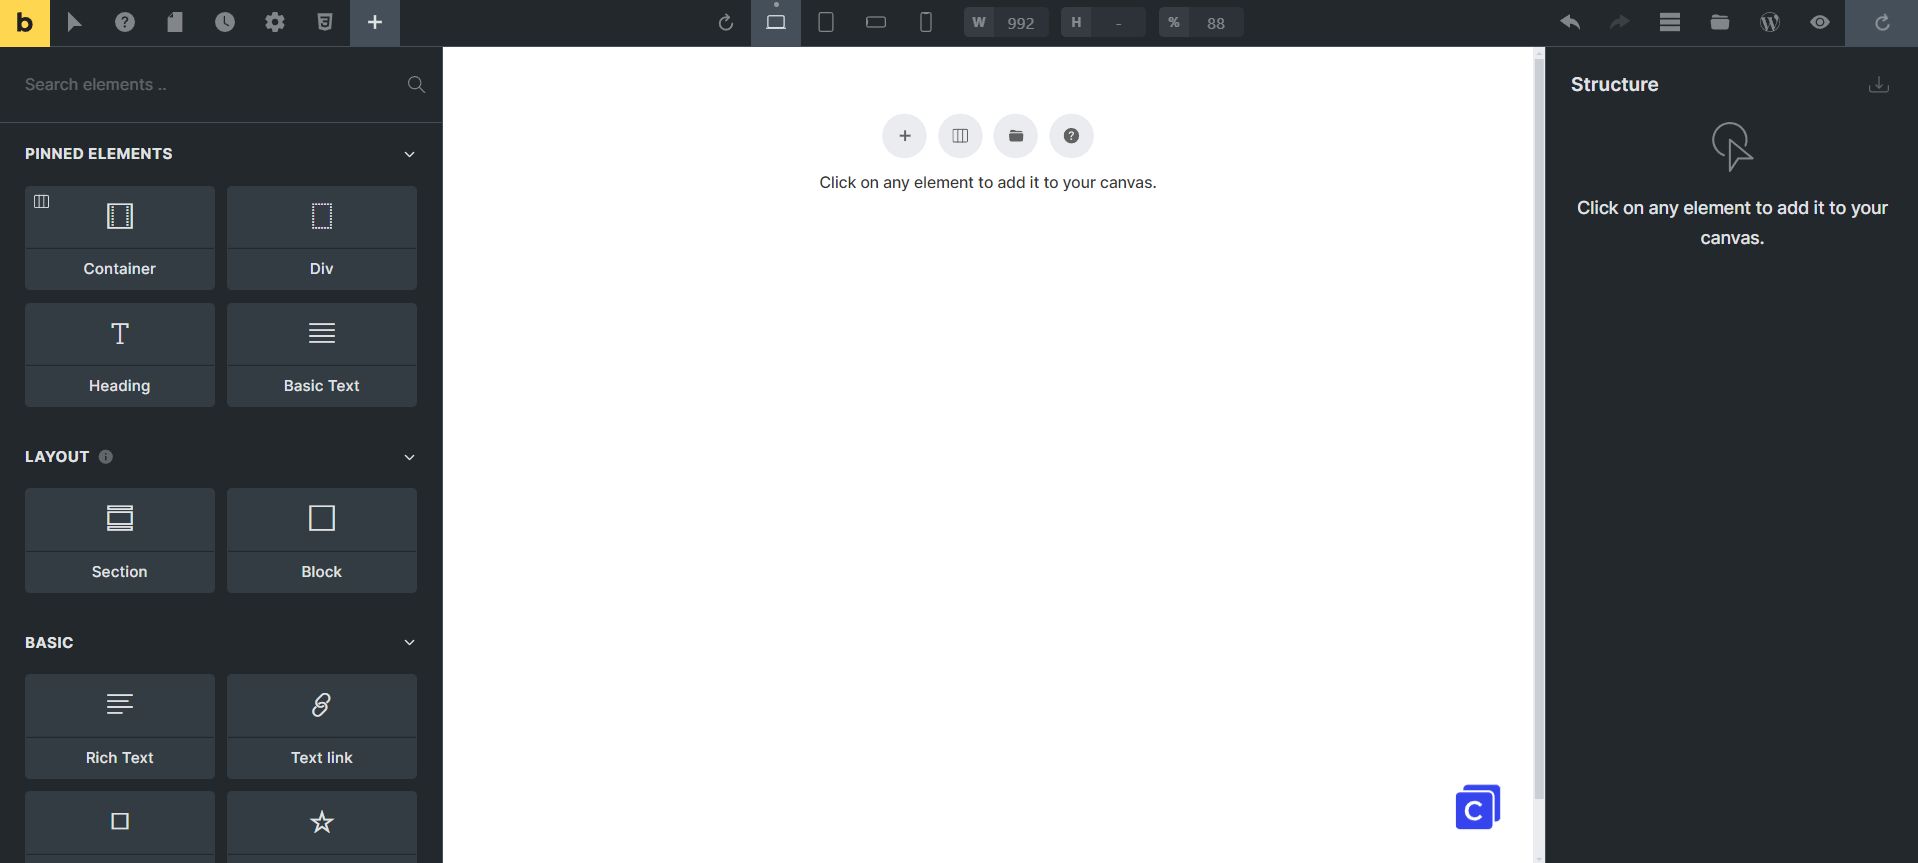
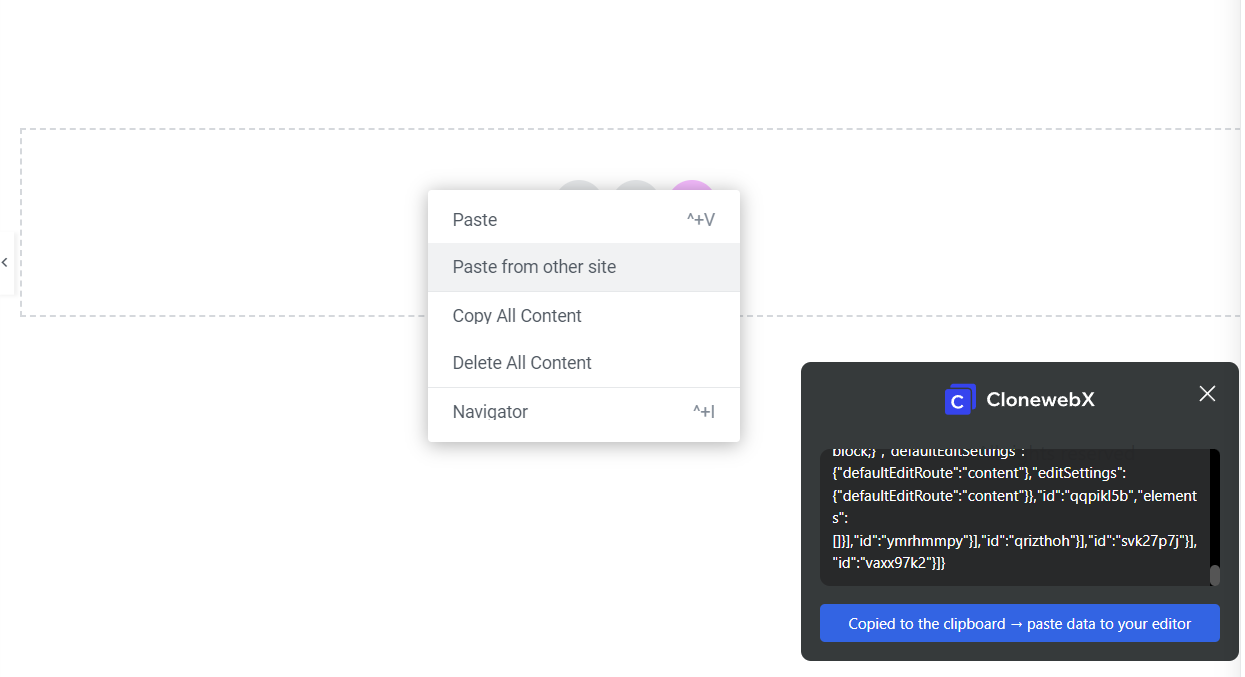
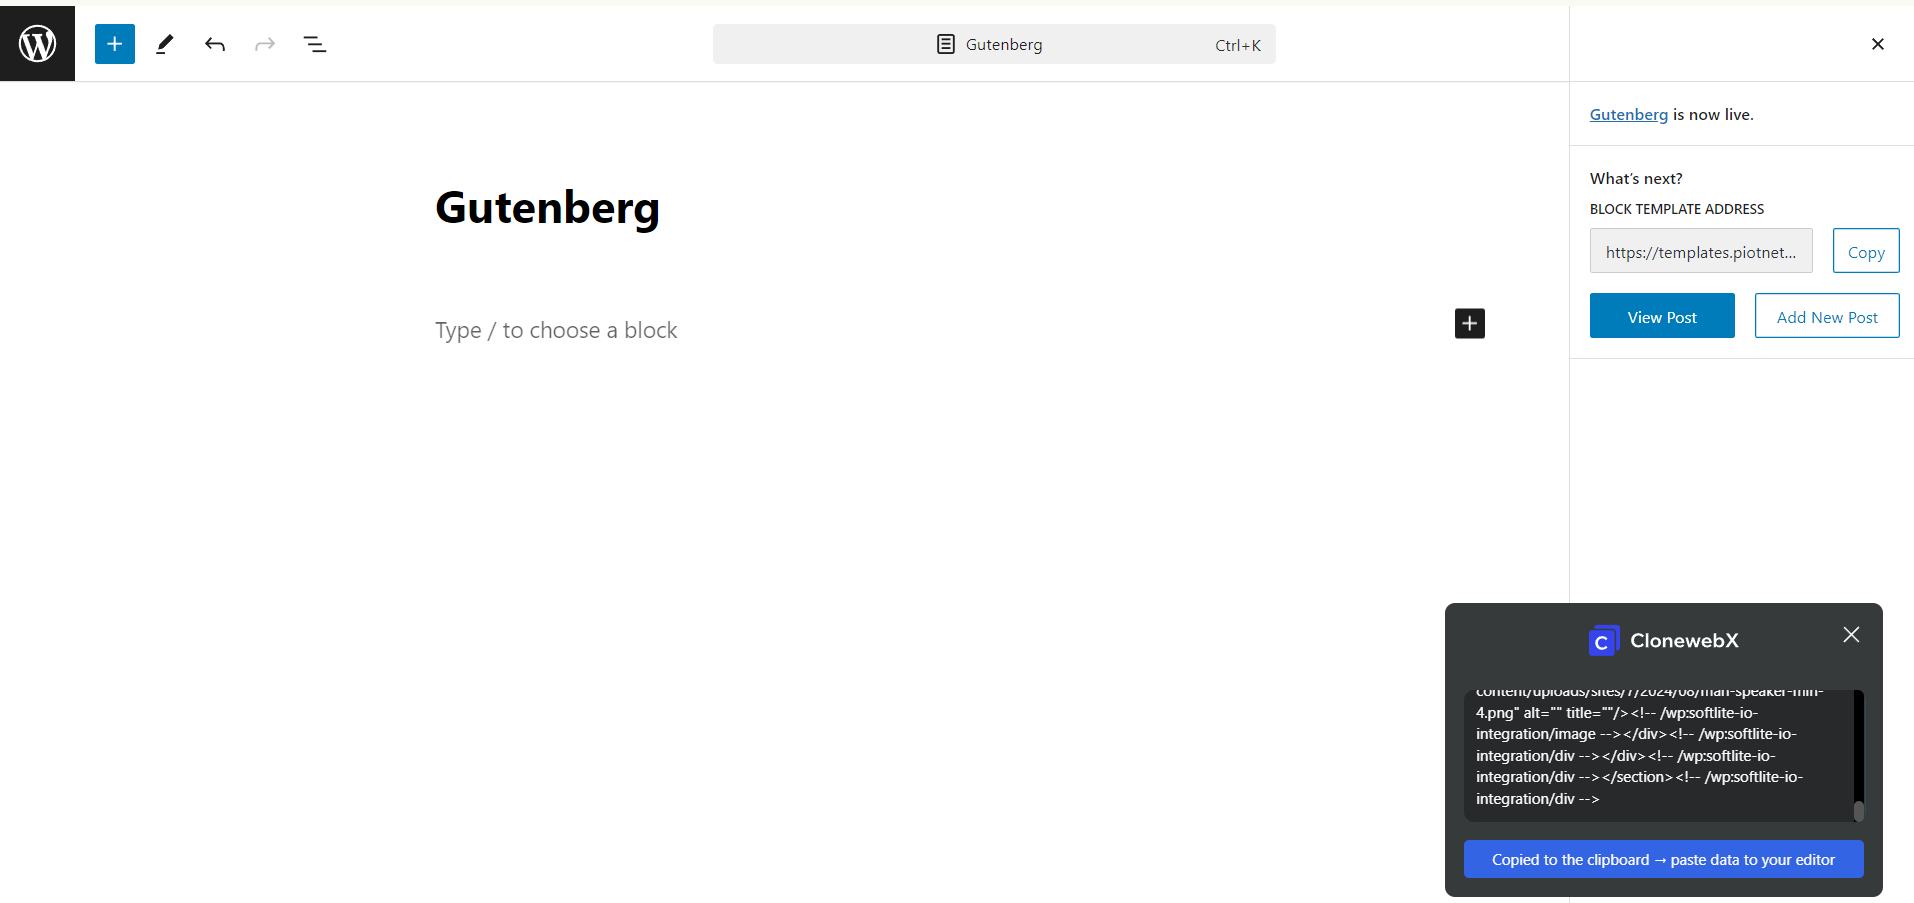
Look for the Softlite Icon located in the bottom right corner of your page. Simply paste the data into this control, and watch as all the images, icons, and even the fonts are automatically uploaded to your server.
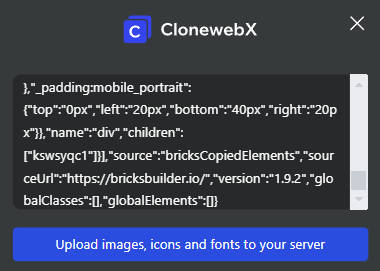
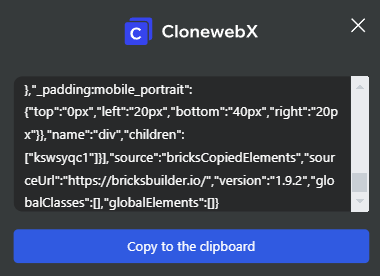
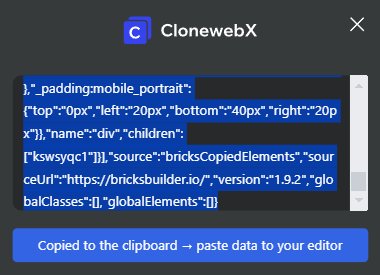
The uploading process may take a moment, but once it’s done, the new data will be temporarily copied to the clipboard.
From there, you can easily paste it into your editor.
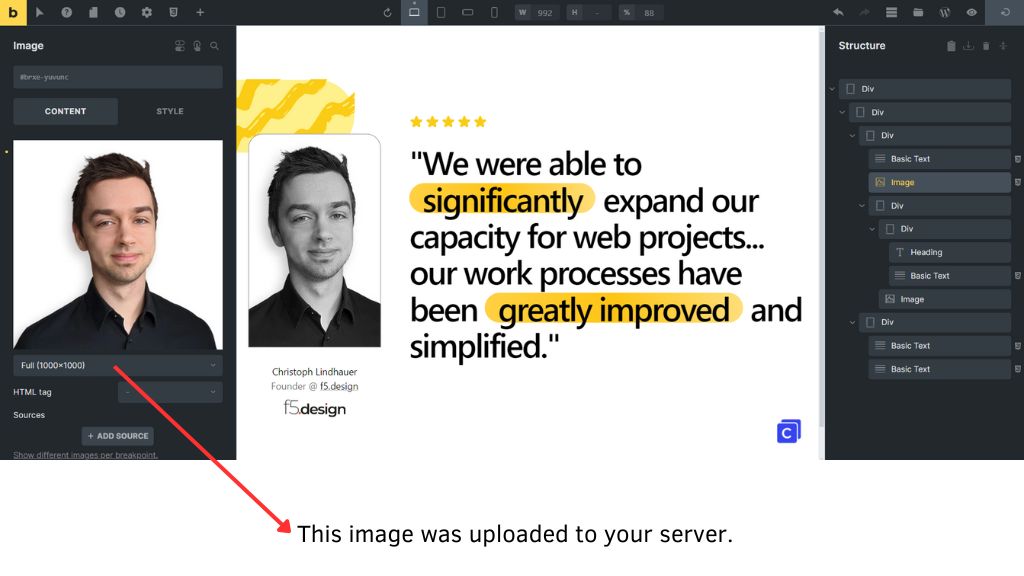
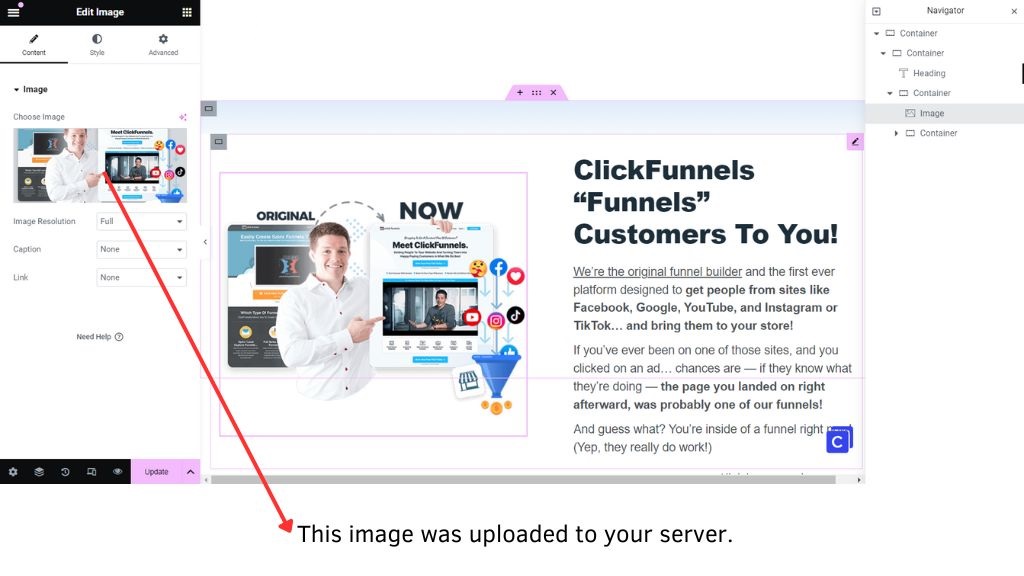
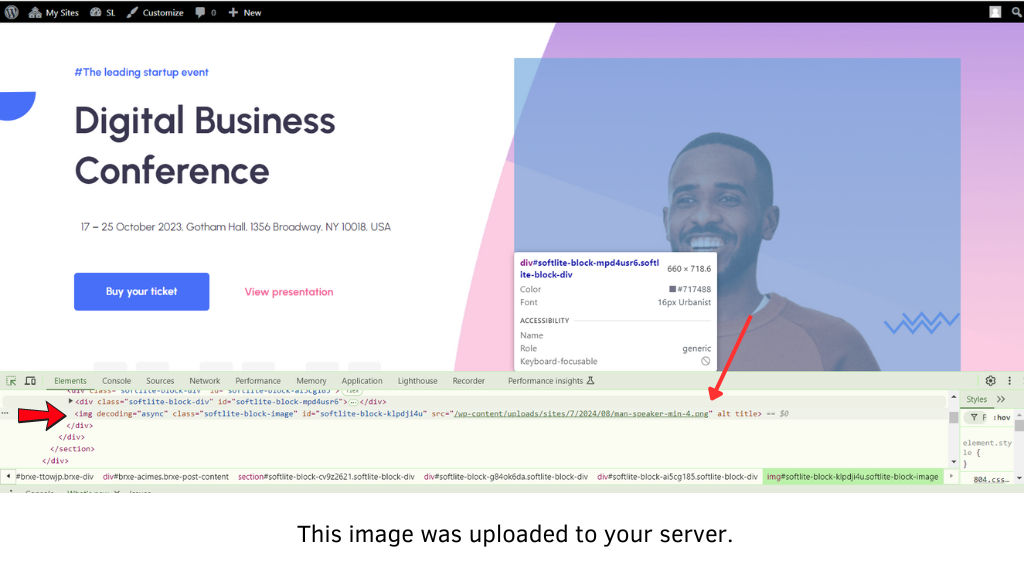
If you click to any image or icon element, they were uploaded to your server.
Example 2
The result achieved when pasting data as in the usual way.
Images and Icons are linked to the source website.
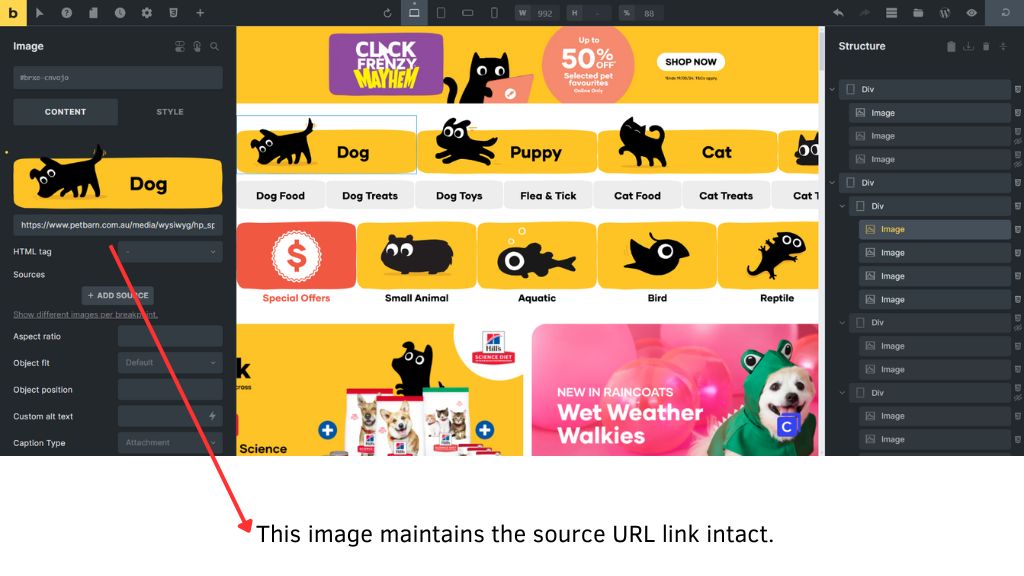
You can either replace these images/icons manually or upload them automatically using our solution.
Elementor example
The outcome obtained from pasting data in the conventional manner includes linked images and icons to their source websites.
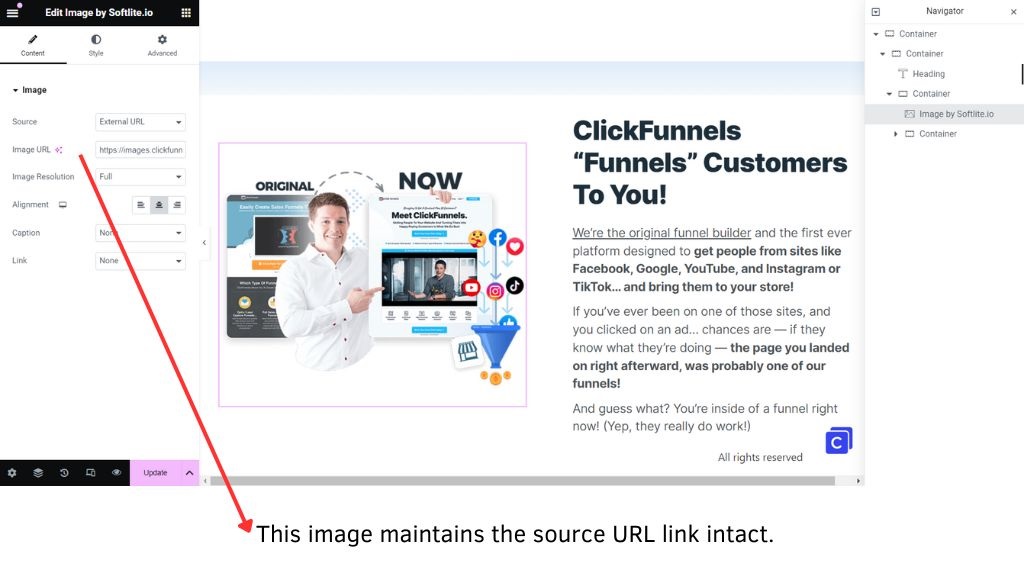
You have the option to either manually replace these images/icons or upload them automatically using our solution.
Images and icons have been uploaded to your server.
Gutenberg example
Let’s replicate another example in Gutenberg, as shown below!

The outcome obtained from pasting data in the conventional manner includes linked images and icons to their source websites.
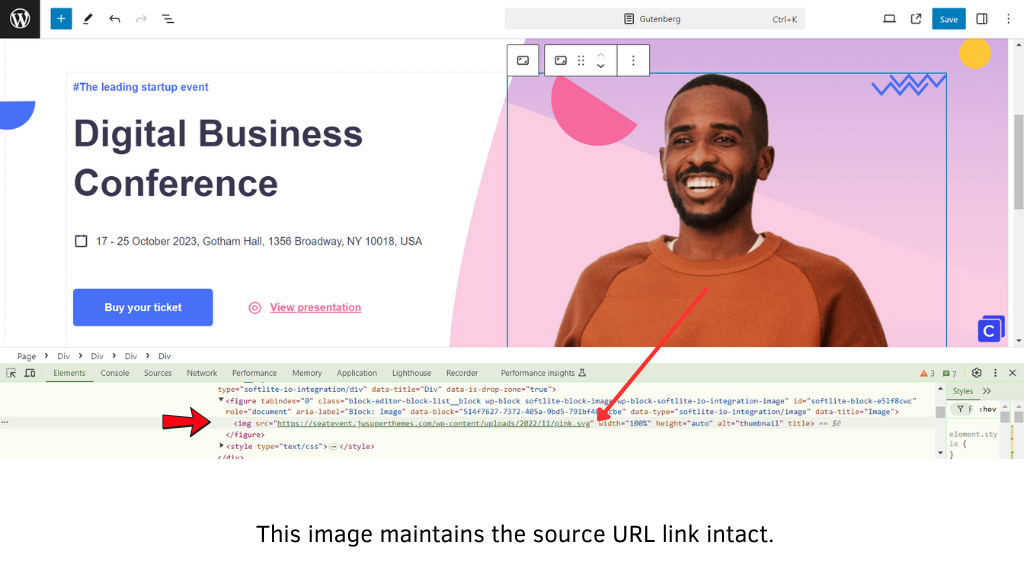
You have the option to either manually replace these images/icons or upload them automatically using our solution.
Images and icons have been uploaded to your server.
Webflow
Webflow - Enable API Token
In Webflow dashboard, access “Settings” of your specific site
Then clicking on “Apps & Integration” -> API Access -> Generate API Token
Assign a name for API Token, and adjust parameters of Pemissions as below:
- Assets: Read and write
- Sites: Read-only
-> Generate token
You promtly get the API token code -> copy it
In FigwebX Panel
Enable the “Upload imagtes to assets” feature -> paste the API Token here.
You only need to fill it out once for each project.
-> Afterward, keep copying your aim data.
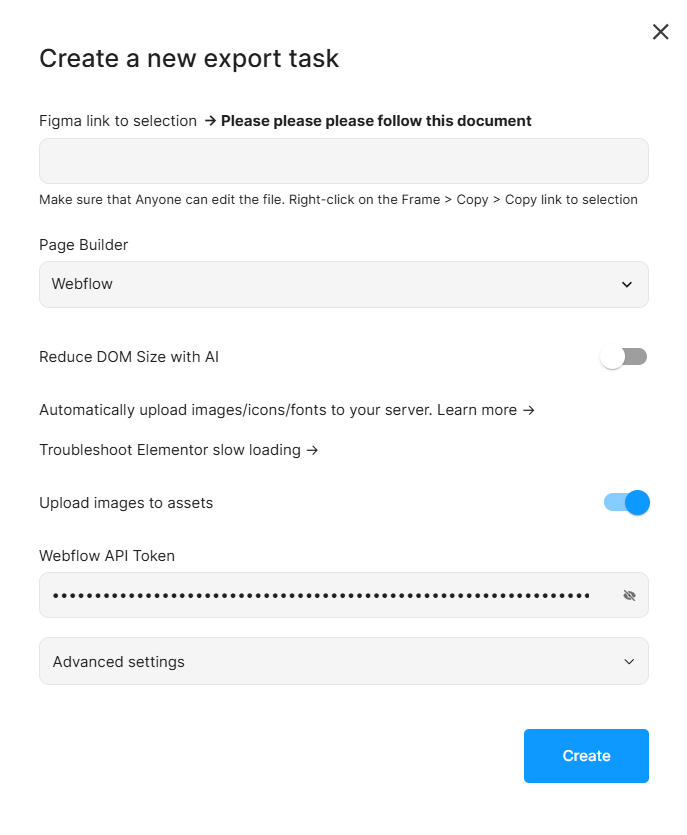
Complete your FigwebX conversion tasks and copied data into clipboard.
Pasting data
From Webflow Editor, reload your current target page.
Then you can easily paste it into your editor by pressing Ctrl/Cmd + V.
When clicking on images, you would recognize that they were automatically uploaded to your server.
Right now, you can either replace these images/icons manually or upload them automatically using this solution.
 Skip to main content
Skip to footer