The default trigger is “page load,” so the elements’ animations inside parent Timeline will be triggered when the page loads
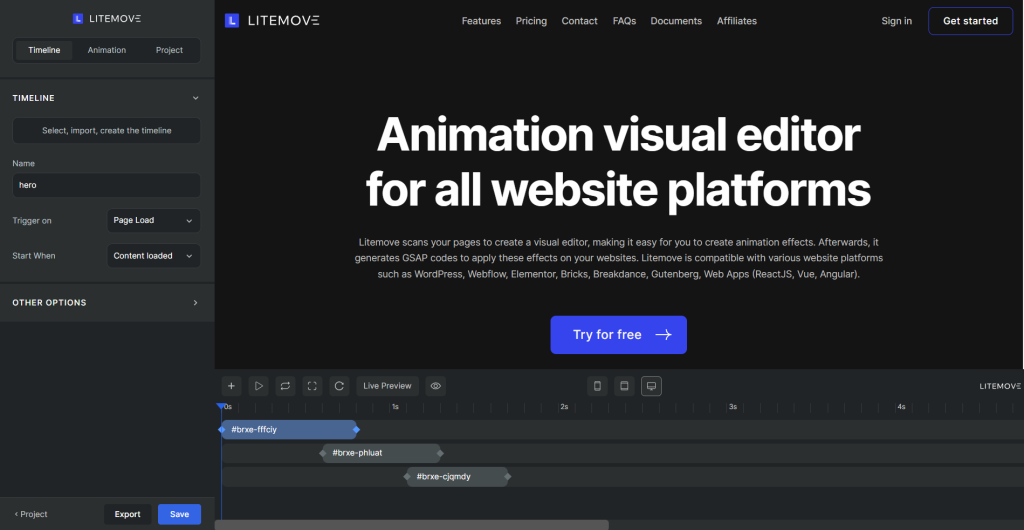
Timeline Control Tab Setup
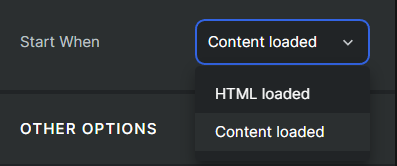
You can even choose a specific page load method:
- HTML Loaded: Correspond to Text Elements on your page.
- Content Loaded: All of the Elements on your page, including Images or Videos
In practice, we recommend using Content Loaded when all the images are loaded. It provides a smoother experience and is suitable for “lazy load” settings.
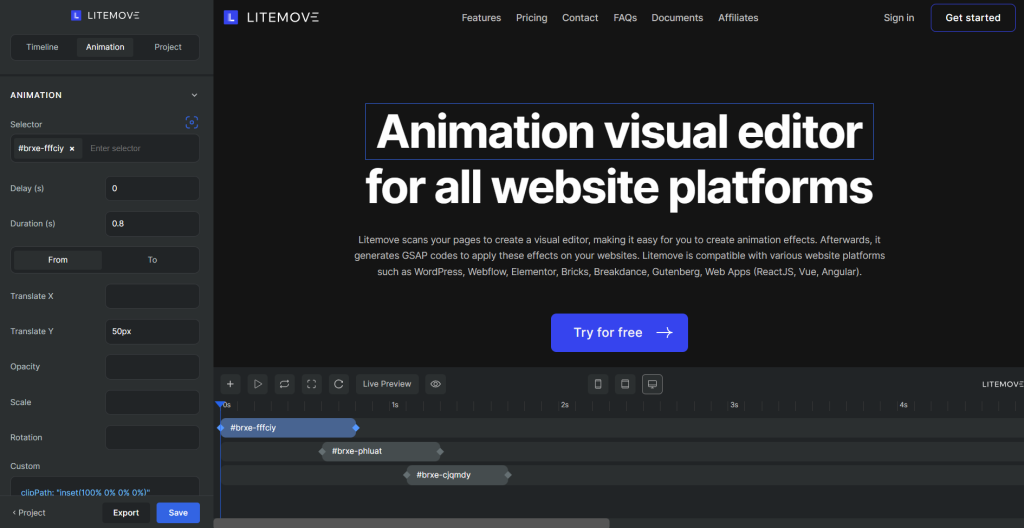
After that, click on the plus icon on the Timeline to create animations.
Instantly, the Animation Control appears on the left of your screen
Animation Control Tab Setup
You can use our Selector Detector to choose a specific element on the page or enter directly input element in Selector Box
As an example, let’s create an animation for this heading.
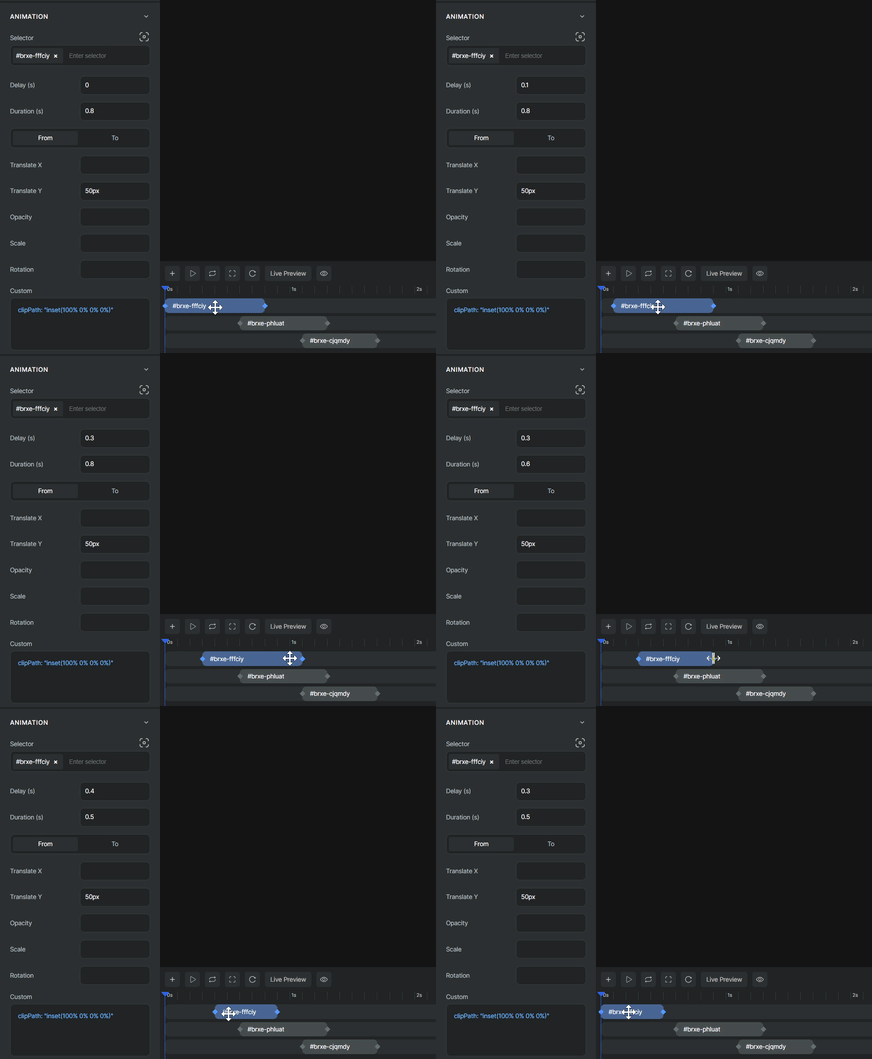
You can customize the duration of this animation by dragging and dropping on it. Alternatively, it is possible to adjust its position to change the delay.
Additionally, change the delay of the animation by adjusting its position on the timeline. Moving it forward will decrease the delay, while moving it backward will increase the delay.
Next, let’s add a parameter for “translate Y” in the “From” tab.
When you enter a number in this box, the default unit is pixels.
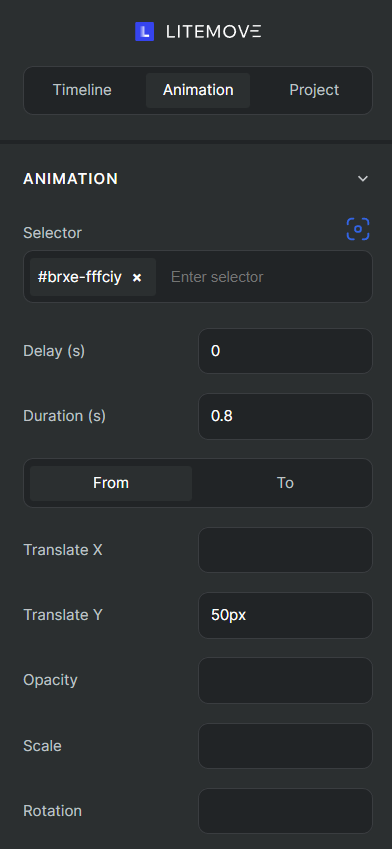
For another example, let’s add a new animation and adjust it on the timeline.
This animation will be applied to the description.
It combines the translate Y operation and opacity.
I want this animation to be triggered immediately after the first animation ends.
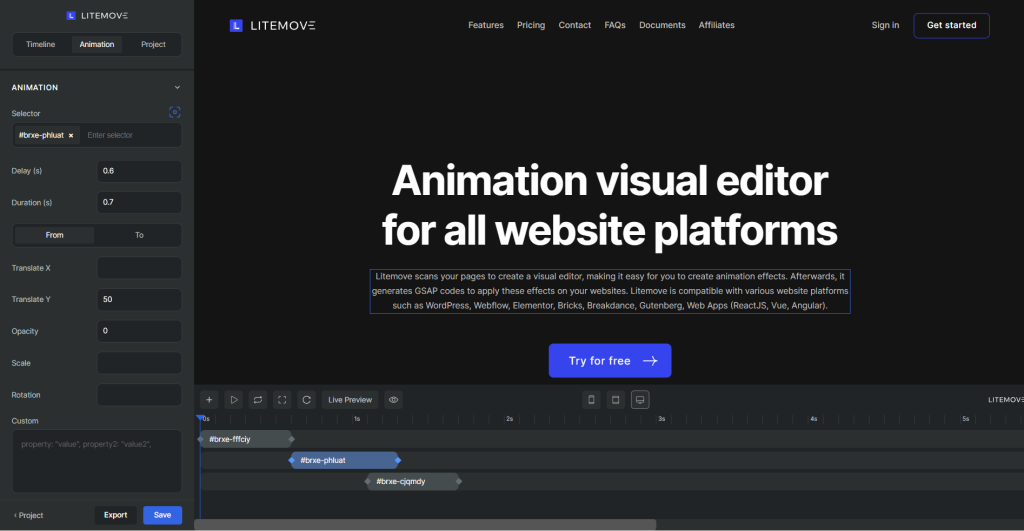
Here’s a basic illustration using the Translate Y Animation. To explore other effects, please refer to other documentations for a more comprehensive experience.
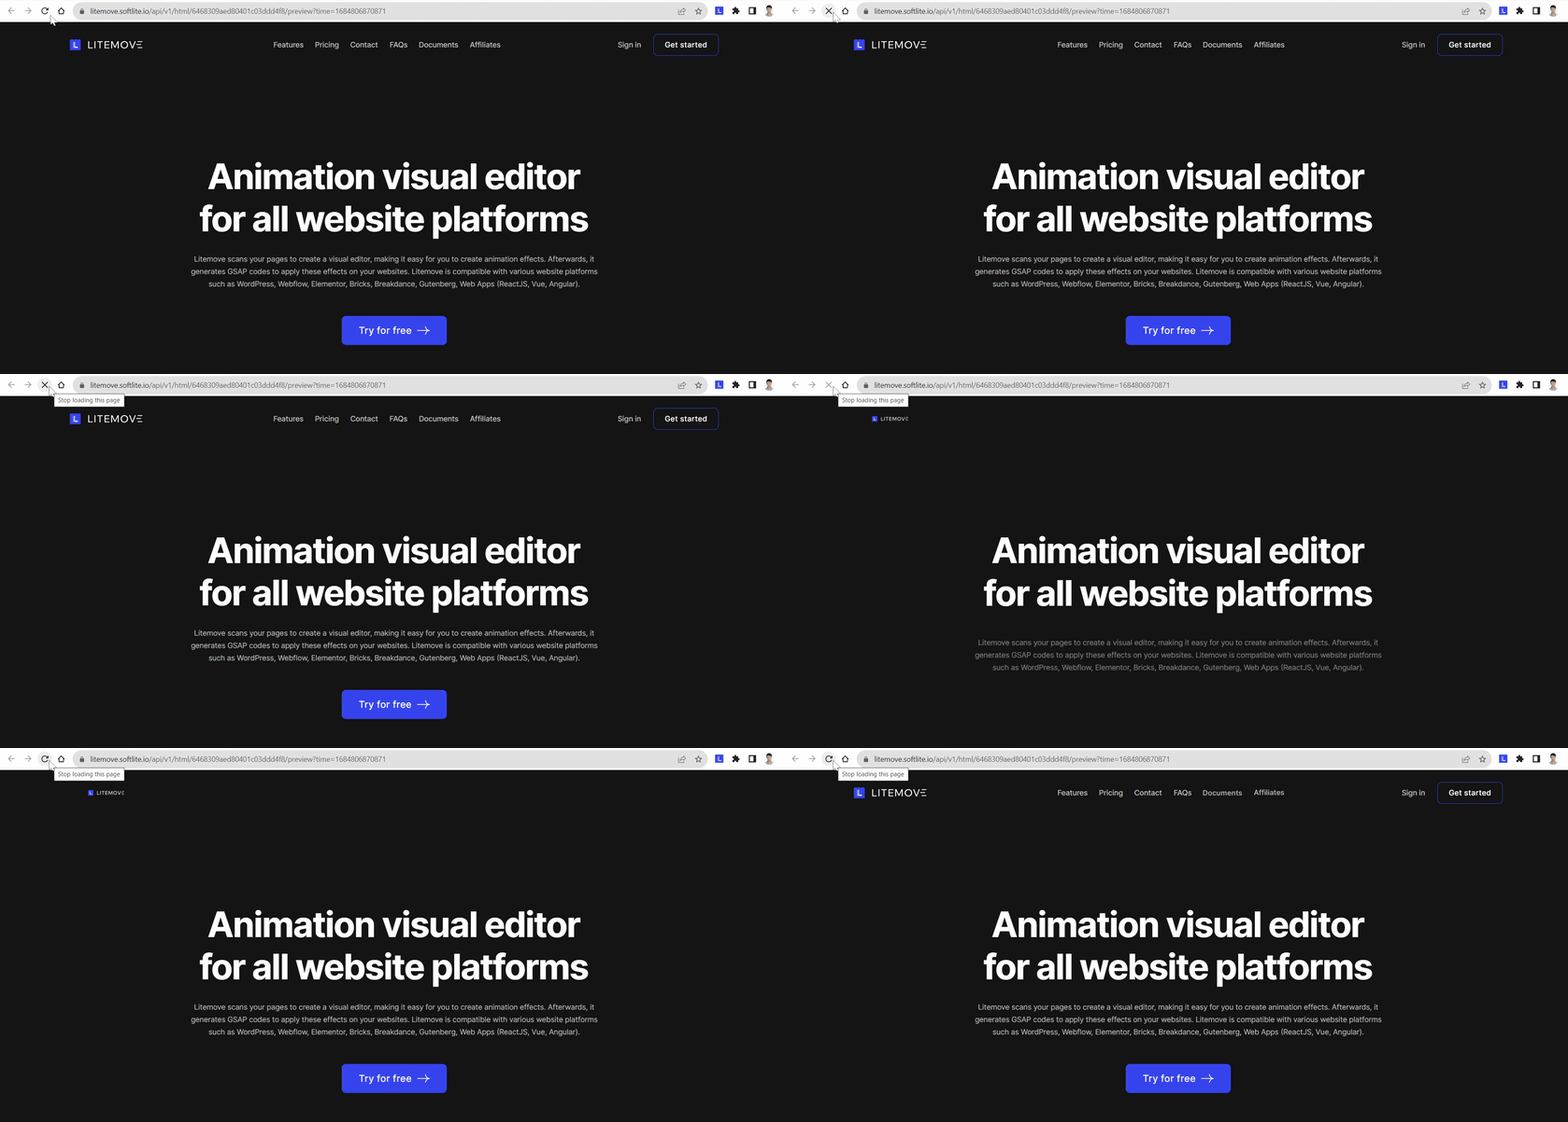
The Result of Page Load Trigger
 Skip to main content
Skip to footer