If you have experience with WordPress, the Litemove plugin is the ideal animation builder for your setup. You can easily install it on your WordPress site like any other plugin. Additionally, it seamlessly integrates with your preferred page builder or theme, elevating both the functionality and visual appeal of your website.
Create animations on Wordpress
Install Litemove Plugin
Initiate the utilization of the Litemove plugin by downloading and installing it from your account area. Subsequently, activate the plugin using the email address associated with your license.

After purchasing an appropriate plan, you’ll get relevant License information and a link to download the Litemove plugin via confirmation mail.
- Retrieve the plugin by downloading it.
- Install the plugin by uploading the provided zip file to “Plugins” -> “Add New”.
- Open the builder and activate the plugin by entering your license email address in the Litemove section located in the sidebar.
Edit with Litemove Builder
There are two ways to initiate the Litemove plugin:
#1 Directly navigate to your target page
Go to the relevant page, post, post type or template and locate the “Litemove” button; click on it to launch the animation builder.
#2 Access Litemove on Wordpress dashboard
From the WordPress sidebar in your dashboard, access Litemove section leading you to the starting popup where all saved animations are visible.
Configure Timelines
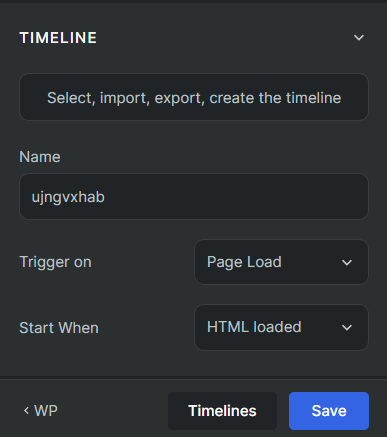
→ Start configuring your Timeline Tab Control
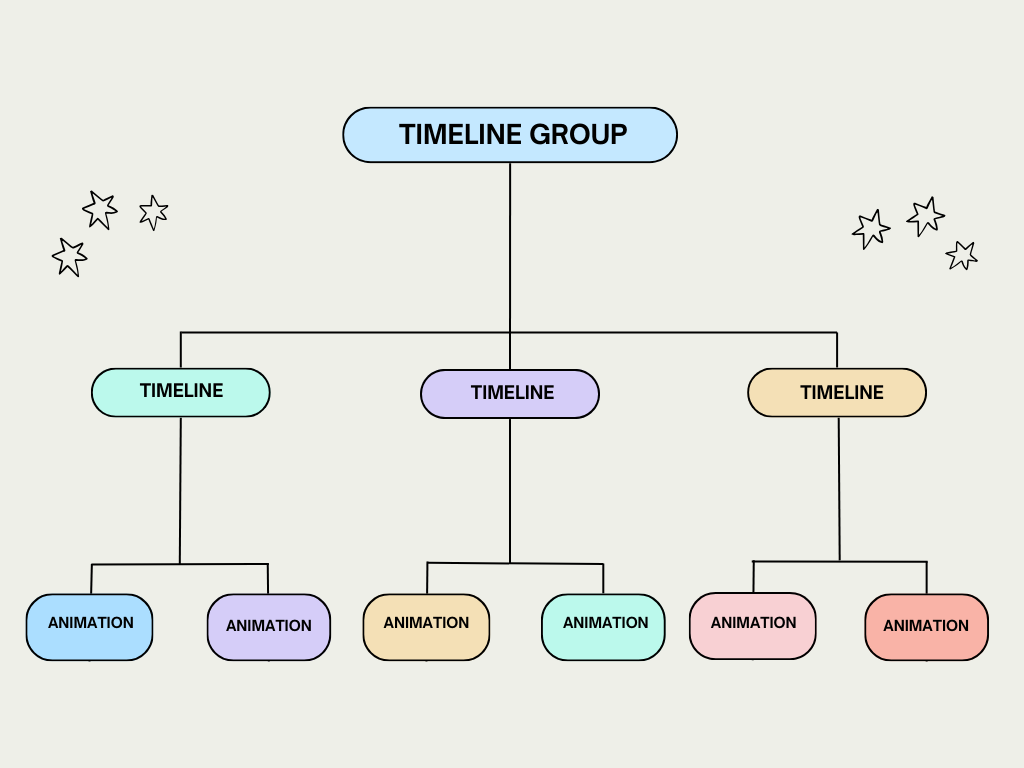
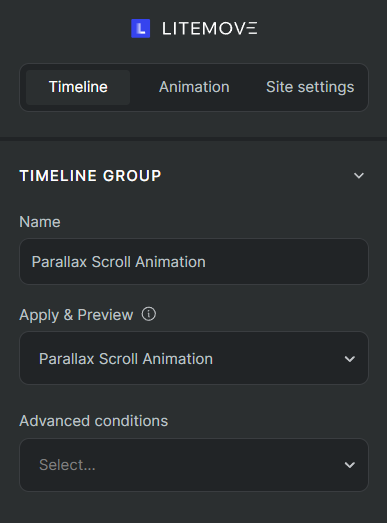
The first control of this Tab is Timeline Group: where you can set visible conditions for Post, Page, Post Type, Template Taxonomy, URL, etc. Even you can search specific options by enter values on this bar.
For example: enter directly on search bar any slug parameter
Depending on Trigger actions, the settings of the Timeline Control Tab appear correspondingly.
There are four options as below:
- Page Load: Animations start immediately after page loading
- Page Exit: Animations start before moving to another page
- Scroll: Animations start when the user scrolls down/up the elements
- Click: Animations start when the user clicks the elements
- Hover: Animations start when the user hovers over the elements
Configure Animations
Click on the “plus icon” in Editing Timeline to add your first animation.
On the left of your screen, open the Animation Control Tab in Control Panel
→ Start configuring your animations
Find out more: Animation Control Tab Panel
Site Settings
Moreover, you have the option to personalize additional site configurations within the third Tab control.
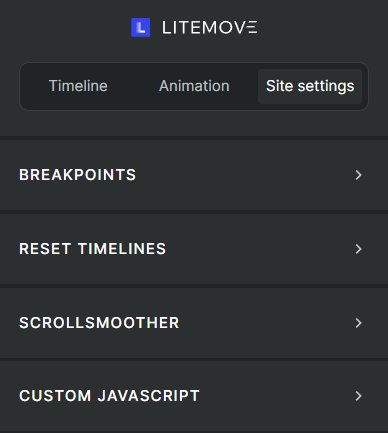
- Breakpoints: Define the parameter widths for various devices.
- Reset Timelines: Fine-tune animation effects for different device sizes.
- ScrollSmoother: Enhance animation effects in conjunction with scrolling triggers.
- Custom Javascript: Customize JavaScript in this section.