With Scroll Trigger, Animations belonging to the parent timeline start when the user scrolls down/up the elements
Timeline Control Setup
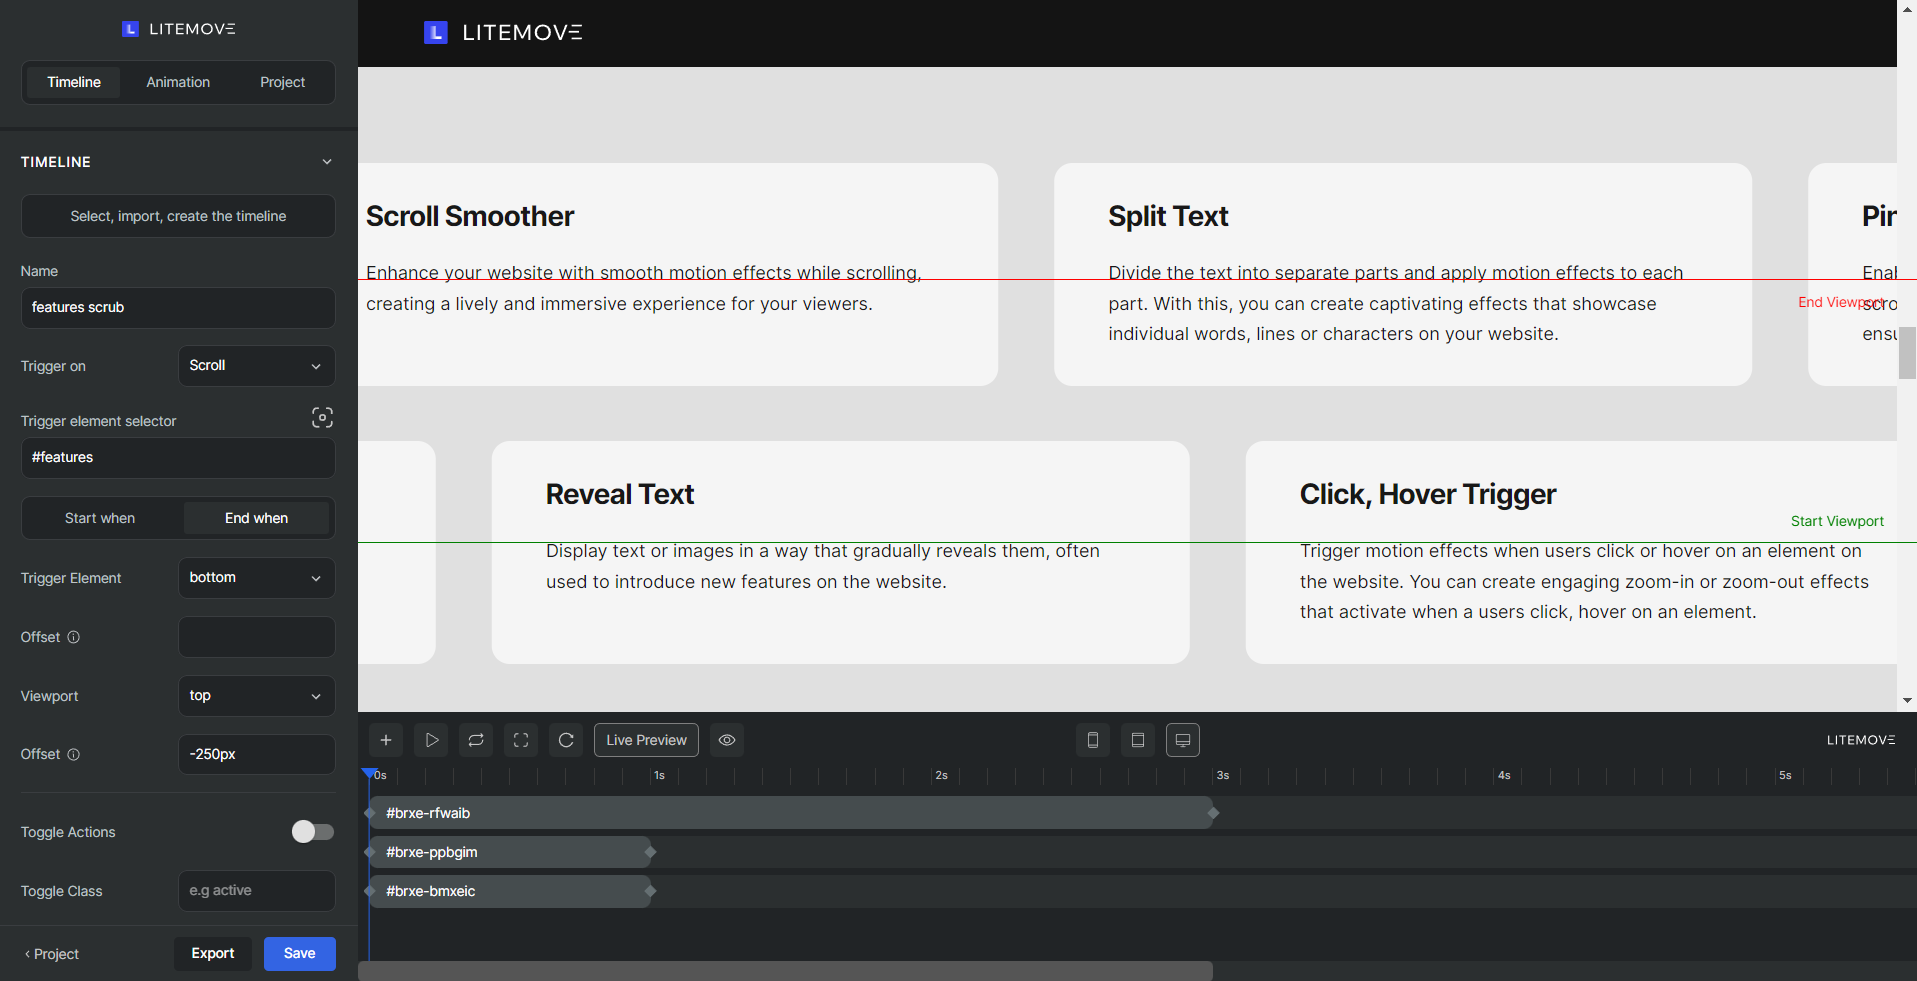
To begin, choose “Scroll” Trigger in your Timeline Control Tab
A bunch of functions and options appear correspondingly to configure
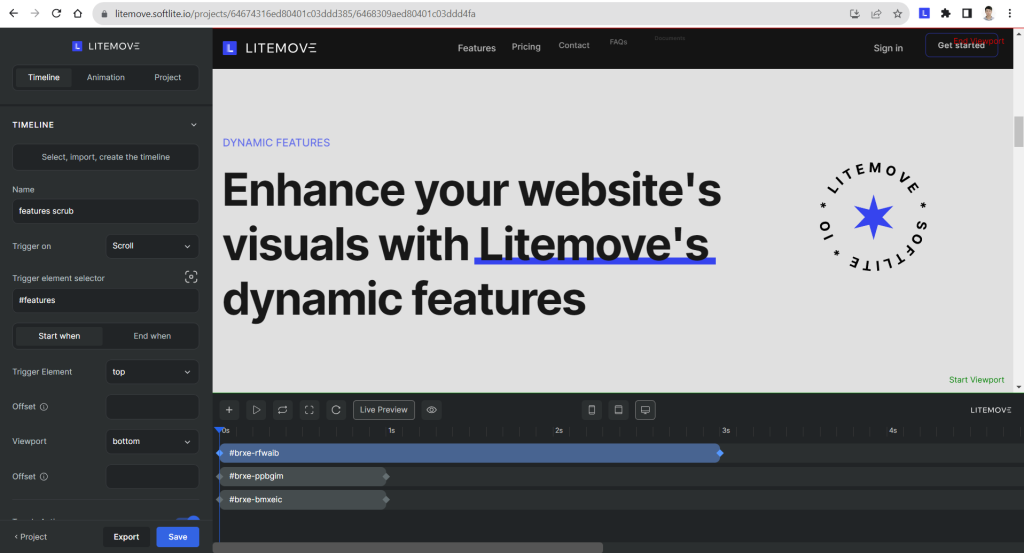
Trigger element selector
Trigger element selector You either type directly your specific elements on Selector Box or use our Selector Detector to scan and pick elements from your Preview PageYou have the flexibility to select specific elements on your page that will trigger all the configurations within your parent timeline. This means that when users scroll down or up to the selected elements, the corresponding functions within the timeline and animations will initiate.
Note: When you ignore this selection part, the selected element in your first animation will be applied by default.
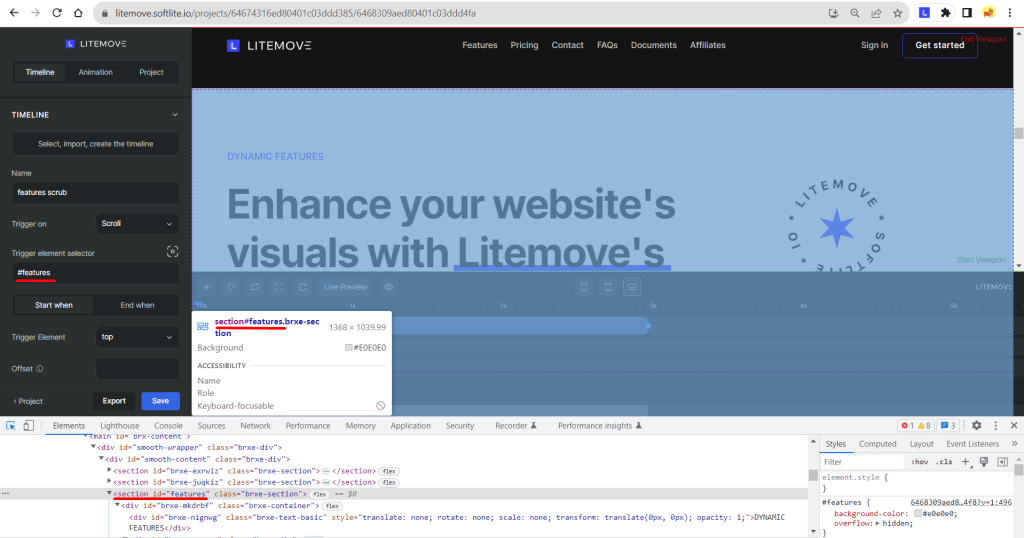
#features section is selected to trigger. When users scroll the page down, all the elements inside this section start animating.Start When & End When Tabs
This ScrollTrigger will be active for detailed setup when the scrollbar is between the A and B positions.
In both A and B points, you can diversify additional functions. Then we made two minis corresponding tabs: “Start When” and “End When”
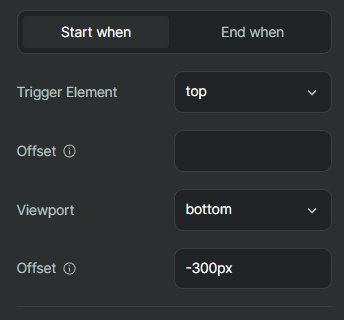
Trigger Element
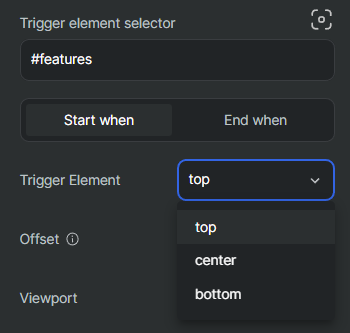
Trigger element the starting and ending position of your selected element, there are 3 options: top, center, or bottom. Offset - a modifier of Trigger elementFor example:
- Choose (Trigger element = Top) and (Offset = “250px”)
- Choose (Trigger element =Bottom) and (Offset = 80%)
Viewports
You can recognize there are two additional lines displaying on Preview
Start Viewport Or The ScrollTrigger Start Position refers to the specific point where the animation will commence. By default, it is set to "top-bottom" (meaning the animation will start when the top of the element intersects with the bottom of the viewport)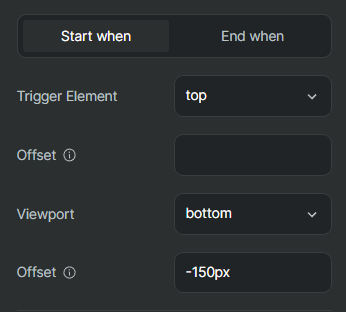
End Viewport Or The ScrollTrigger End Position denotes the precise location where the animation will conclude. By default, it is set to "bottom top" (indicating that the animation will end when the bottom of the element aligns with the top of the viewport).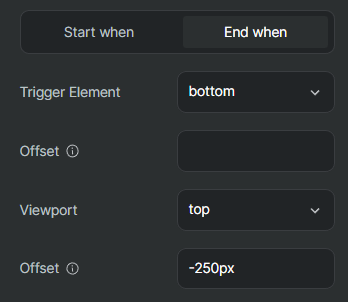
Offset valuesOther functions
Toggle Actions
How the linked animation is controlled at the 4 distinct toggle places:
- On Enter,
- On Leave,
- On Enter Back,
- On LeaveBack,
You can use any of the following keywords for each action: “play”, “pause”, “resume”, “reset”, “restart”, “complete”, “reverse”, and “none”.
The default is “play” “none” “none” “none”.
Toggle Actions = "play" "pause" "resume" "reset" will play the animation when entering, pause it when leaving, resume it when entering again backwards, and reset (rewind back to the beginning) when scrolling all the way back past the beginning. 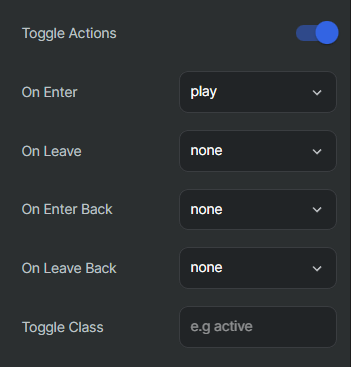
Scrub
Scrub feature. When activated, the animation will be synchronized with the user's scrolling, playing in real-time as they navigate the page.

Pin Element
Create a scenario where an element remains unaffected by scroll adjustments while the ScrollTrigger remains active. This functionality proves remarkably beneficial in generating seamless effects and ensuring continuous visibility of your animation throughout the scrolling process.
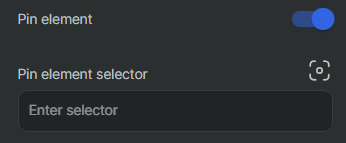
Demo: Basic Pin
Reference source: Pin Element of GSAP
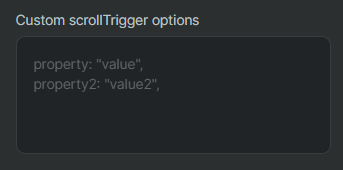
Custom scrollTrigger options
For furthermore, you are able to customize Scroll Trigger control options that are unavailable in our Timeline Control
Animation Control Setup
As in Page Load Trigger, you can apply any property for animations.
To begin, select the appropriate “Trigger element”, enter input elements, or use Selector Detector to choose specific elements on your page.
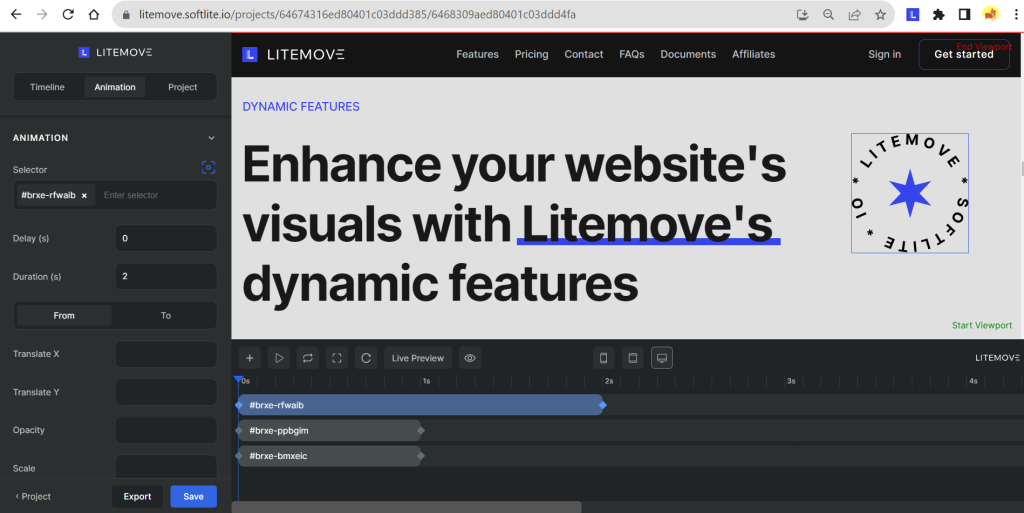
For instance, we apply the rotation property to animate a Text Element.
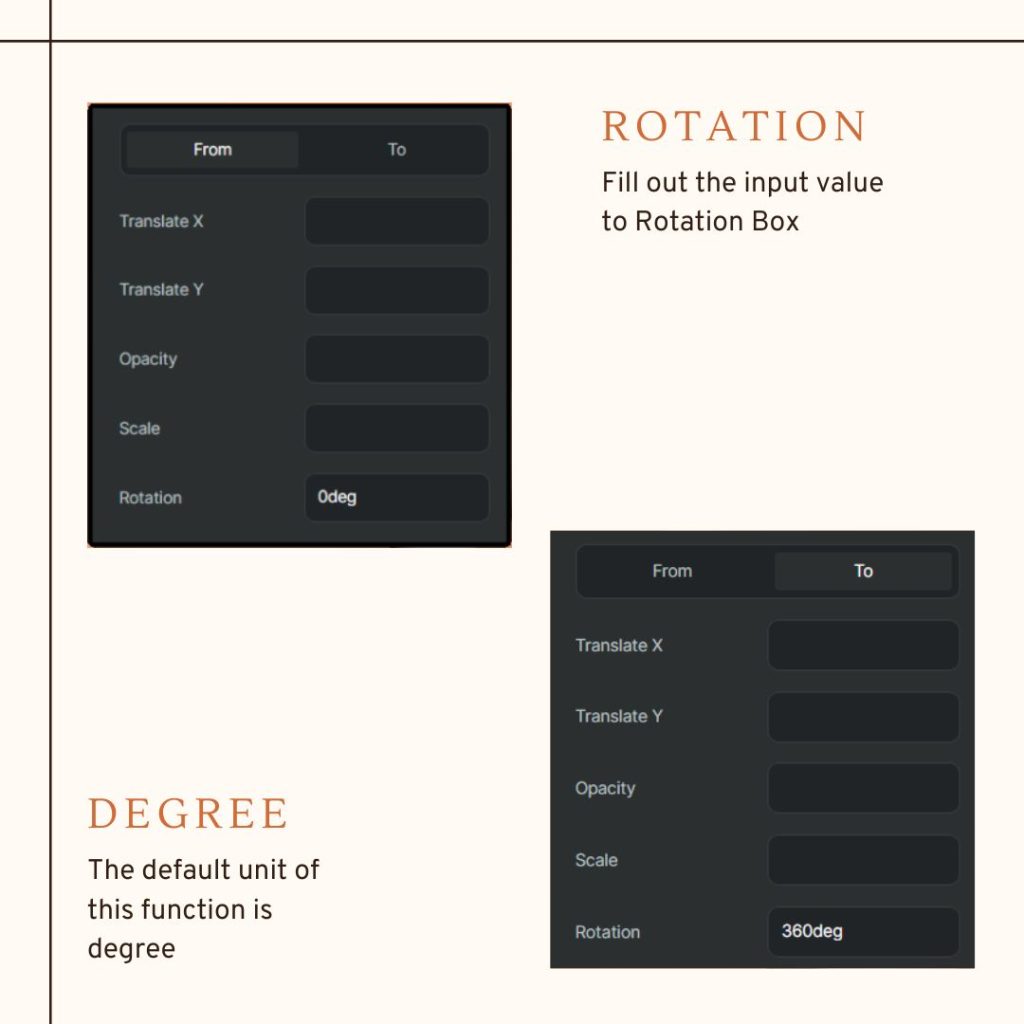
If you combine the Scrub feature, your animation will be more attractive. You can browse directly this demonstration via our Litemove homepage
This documentation is referred to Scroll Trigger of GSAP
 Skip to main content
Skip to footer