
By following these steps, you will be able to clone any website efficiently and seamlessly integrate it into your Divi page builder for further customization and enhancement.
Transfer any website to a static Divi Website
Essential setup
1. Launch Google Chrome: Ensure you are using the Google Chrome browser for optimal performance.
2. Get the Latest ClonewebX Extension: To start, you need the ClonewebX extension. Click on the “ClonewebX extension” link and add it to your Chrome Browser.

3. Install Softlite.io Integration plugin. Click here to download it
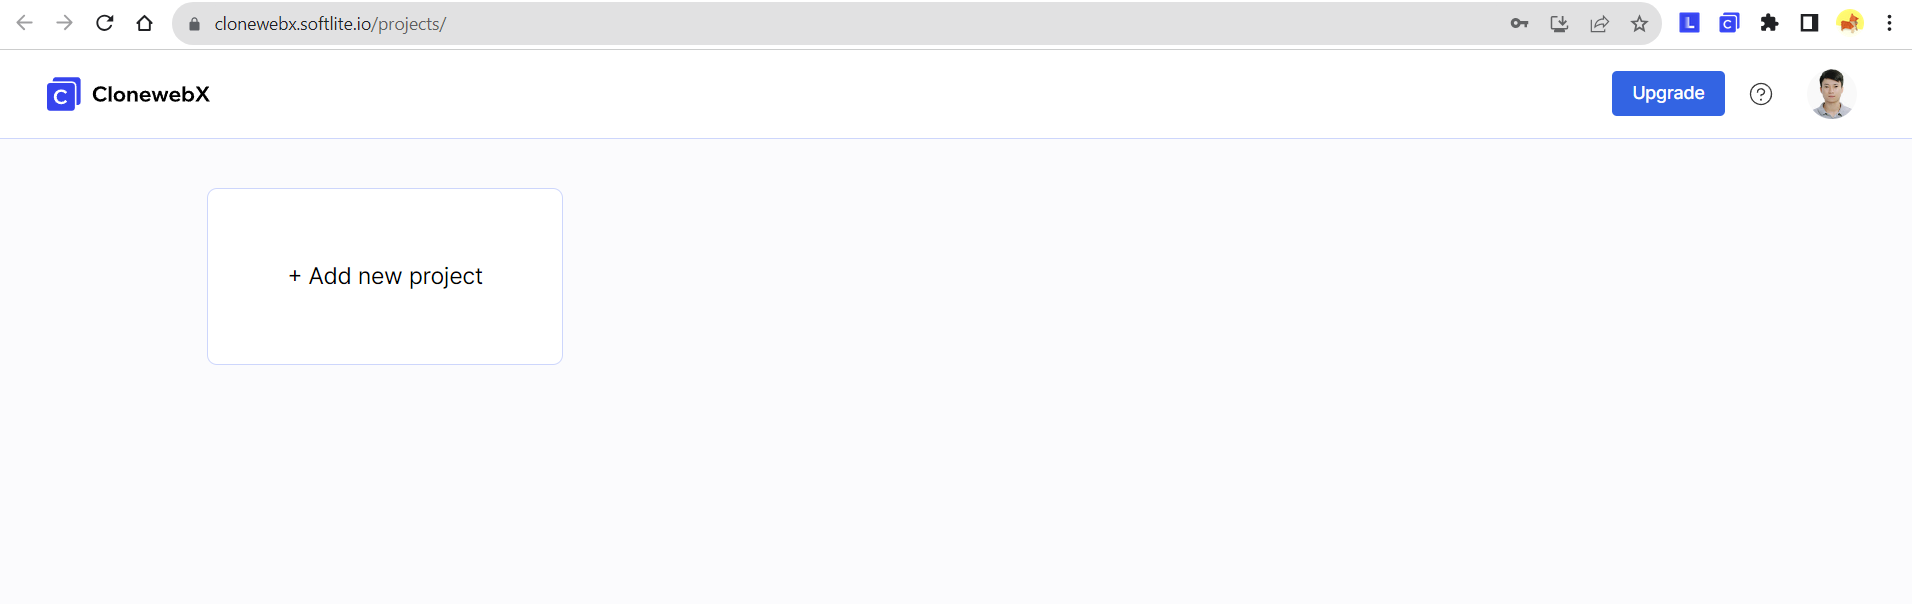
Create Your First Project
1. Sign up and log in:
• Visit https://softlite.io/ClonewebX/
• You can test the trial version or obtain an appropriate license with full features.
• Click on “Login” located in the top-right corner of the screen.
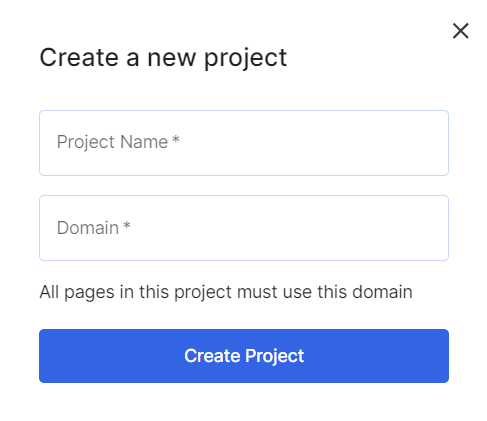
2. Create your first Project:
After logging in, create a new project to get started. Each project represents a website, unifying all pages under a single domain.
For instance, if you aim to duplicate 15 pages from a source website “https://abc.com”. Simply enter “https://abc.com” into the Domain field in this scenario.
Simulate source Webpages
1. Select your target original webpage: Navigate to the webpage that you want to clone.
To clone a website from Envato and Themeforest or similar sources, you need to access the original page URLs rather than relying on the Preview Iframe.
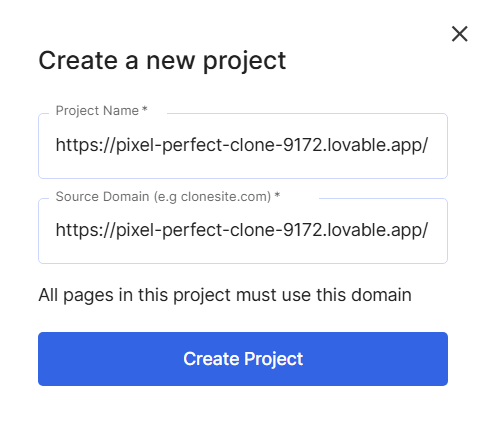
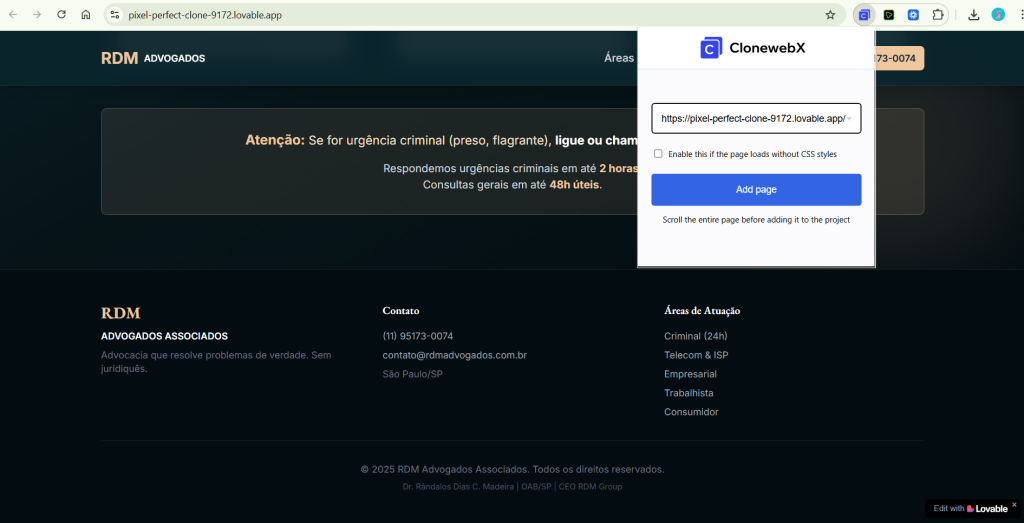
As in the illustration below, we demonstrated cloning a Lovable website: “https://pixel-perfect-clone-9172.lovable.app/“

Create a new project for this website first.
2. Ensure all elements are loaded correctly:
• Scroll down to the end of the target original webpage to make sure all elements have loaded.
With complicated pages, they may use “Lazy load” or “Animation” effects to show up/down the elements.
3. Scan Webpages:
• Click on the ClonewebX extension icon located in the top-right corner of your browser.
• Click “Add Page.”
Configure Export Settings
After that, a redirect tab will be created and simulated the target original page to ClonewebX website. A control panel promptly materializes, enabling you to adjust parameters through it.
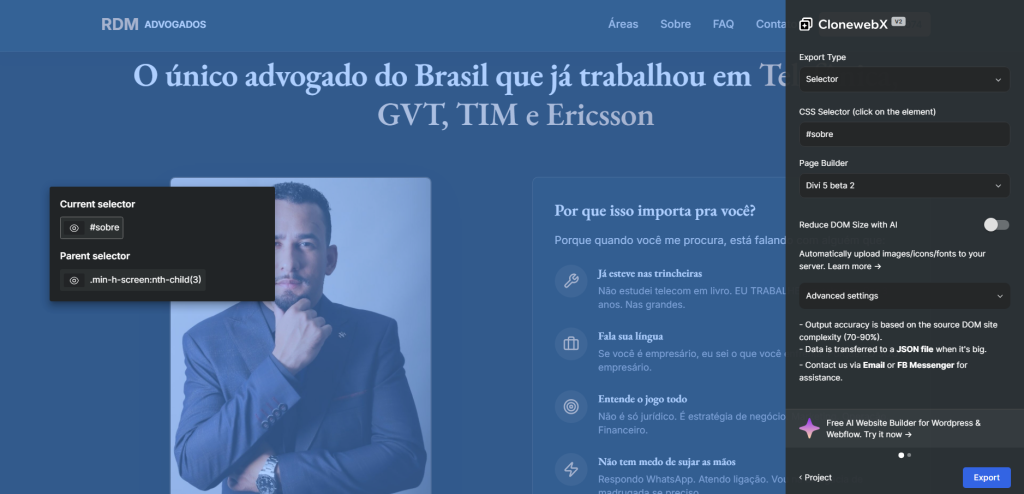
1. Selector: Use our selector detector to choose specific elements on the page for cloning. There are “current selector” and “parent selector” when clicking any point on your page. You can use the eye icons, to also see which elements you have selected.

You can also type directly the aimed element on “Selector box”.
You have ability to replicate an entire page.
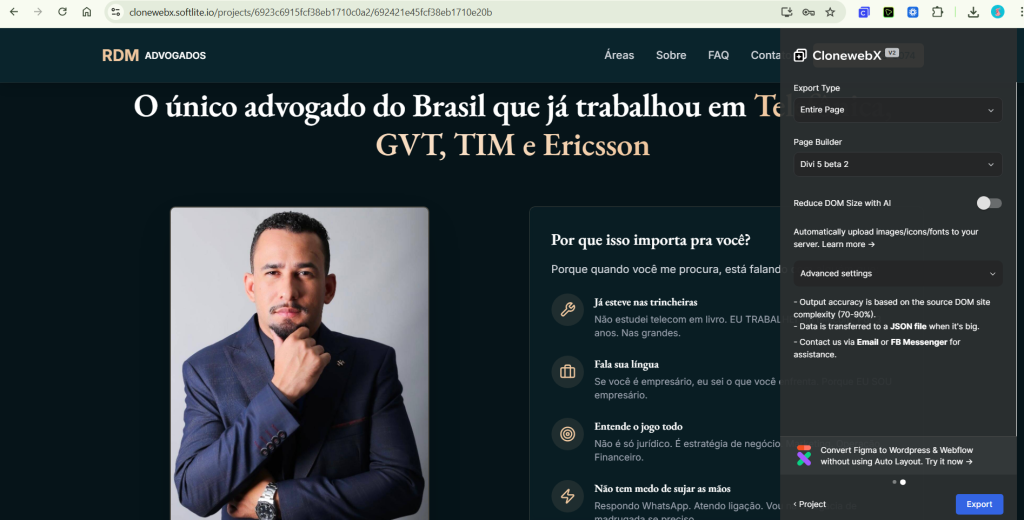
2. Page Builder Option: Select your desired platform, where the project will be transformed into an editable format. Options include Elementor, Bricks, Webflow, Breakdance, Gutenberg, Divi
3. Reduce DOM Size with AI: This optimization process automatically improves the rendering performance of the webpage, reducing the amount of layout resources needed and enhancing the overall user experience.
4. Tablet Portrait and Mobile Portrait Width: Depending on your chosen output builder, adjust these parameters for responsive design or customize them as needed.
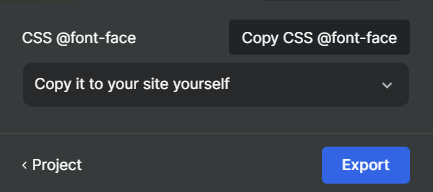
5. CSS @font-face: there are two methods to export the CSS font face to your website.
"Add it to the export data"
Our system will automatically implement CSS @font-face to your selected Selector’s custom CSS. It’s convenient for manipulation, but in case you copy multiple sections, it occurs the duplication.
"Copy it to your site yourself"
To avoid the duplication of CSS @fontface, you can manually add it to your page by using “html widget”.
Choose the “Copy it to your site yourself” option and Click “Export”
=> Press “Copy CSS @font-face” to confirm the action.
We will clone the whole page by choosing option: “entire page”.
In the Page Builder field, select Divi builder from the dropdown list.

Additionally, you have the option to personalize the Tablet Max and Mobile Max Width values in pixels. If left unchanged, these values will revert to the default settings associated with the selected platform.
=> Click “Export” and wait a second.
The cloned data will be transferred to a JSON file.
Import or paste data
Go ahead to your WordPress Admin > Add a new page > edit it in Divi Builder.
Lastly, import the .json file by following the steps shown in the screenshot below:
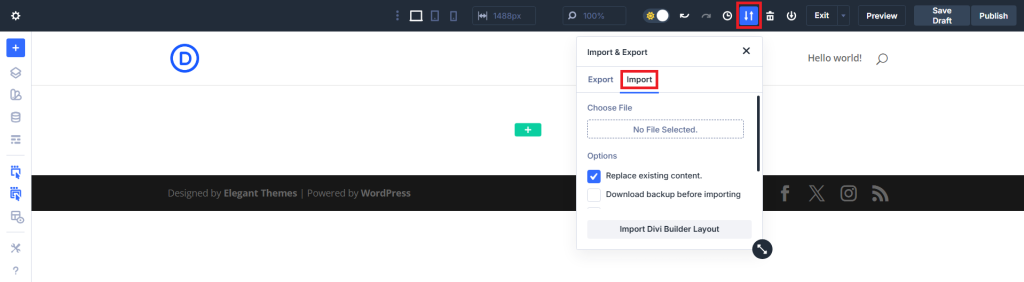
For more details: you can reach to Divi documentation.
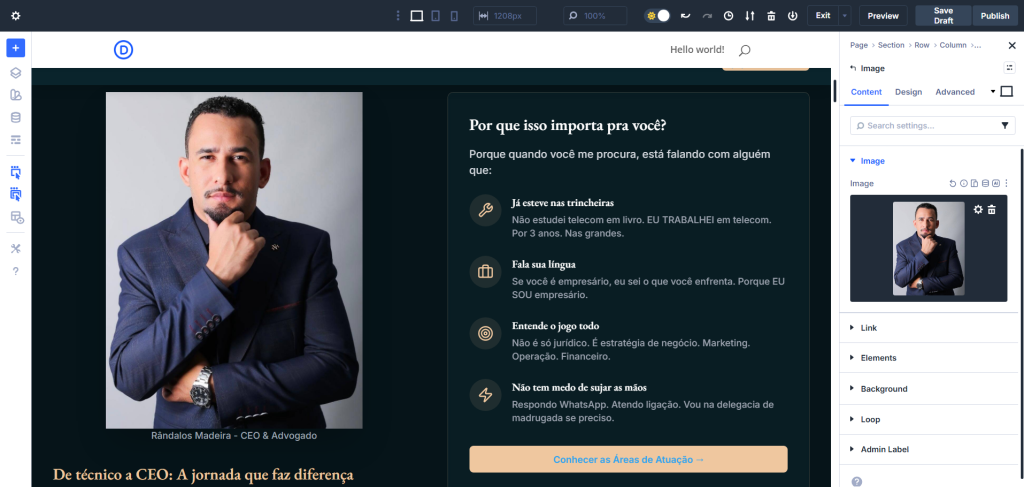
Cloned data immediately apprears.
Customize Your Results
The transformation process involves converting your cloned webpage into Divi – compatible components or widgets, using HTML and CSS.
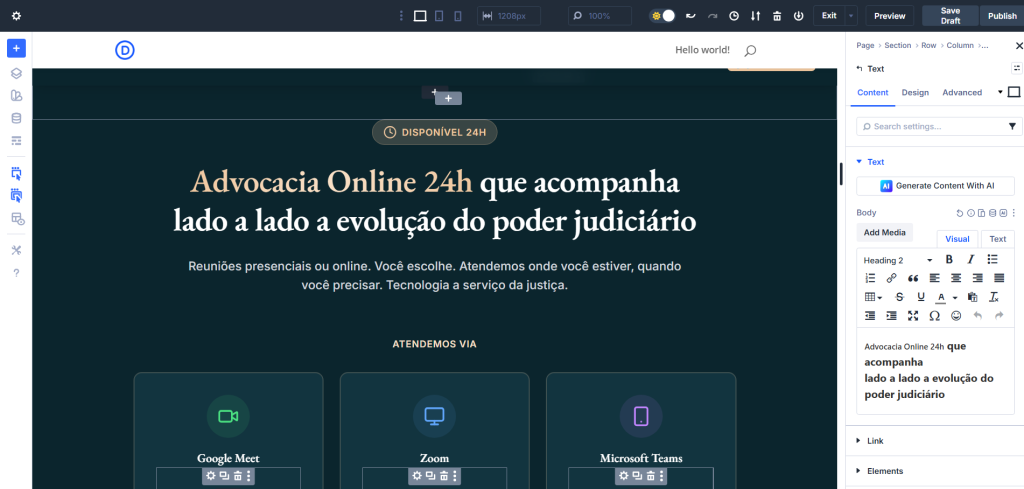
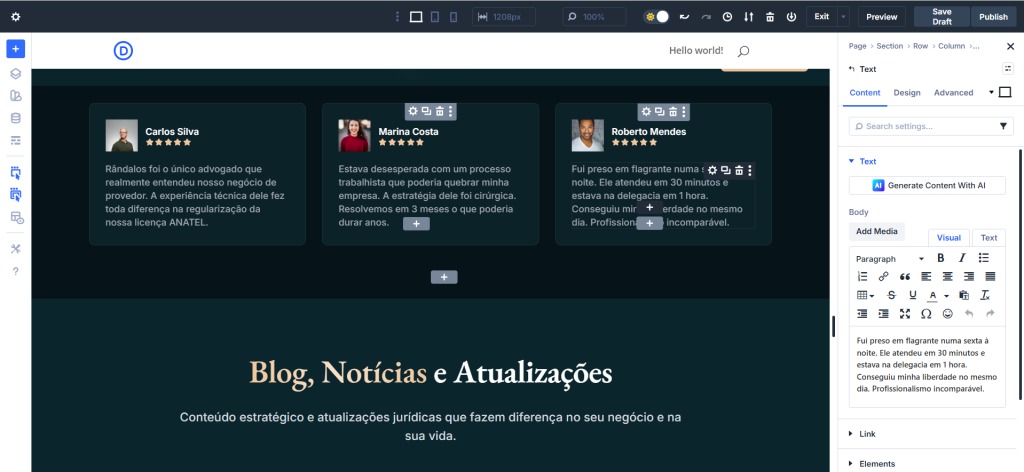
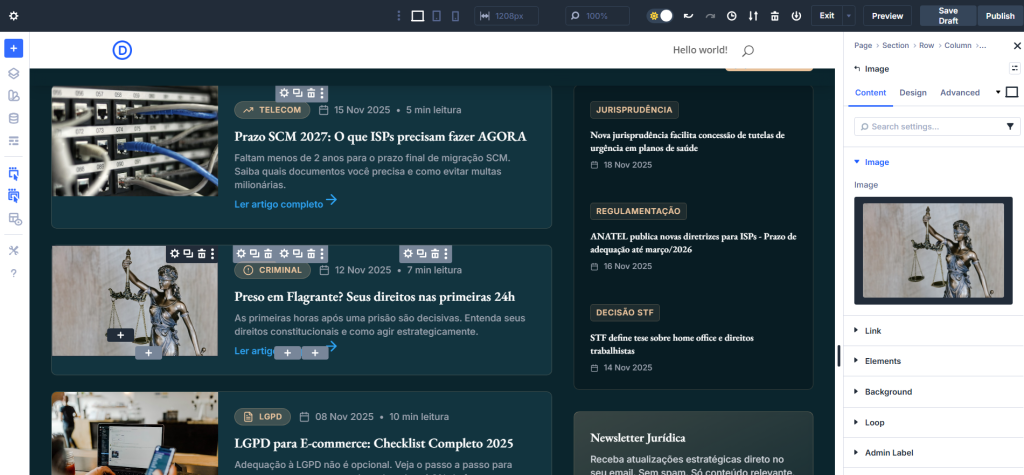
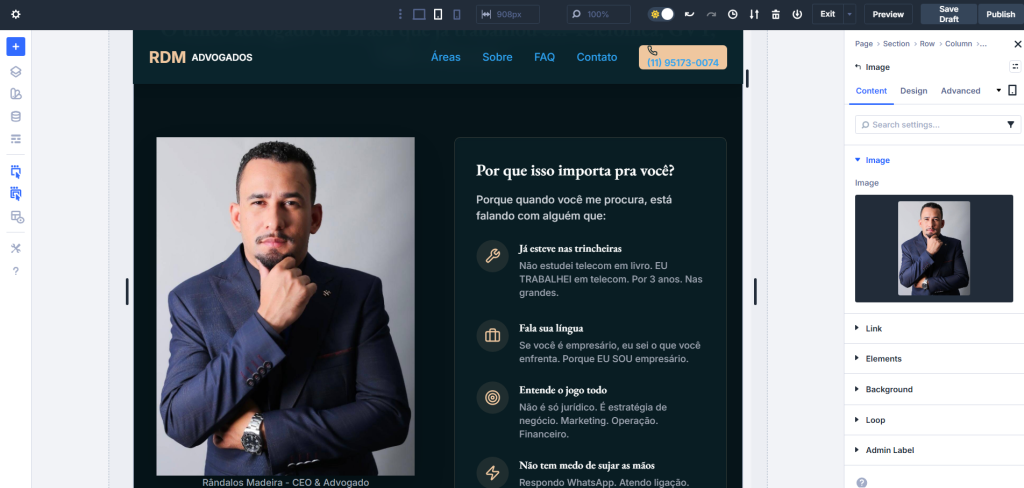
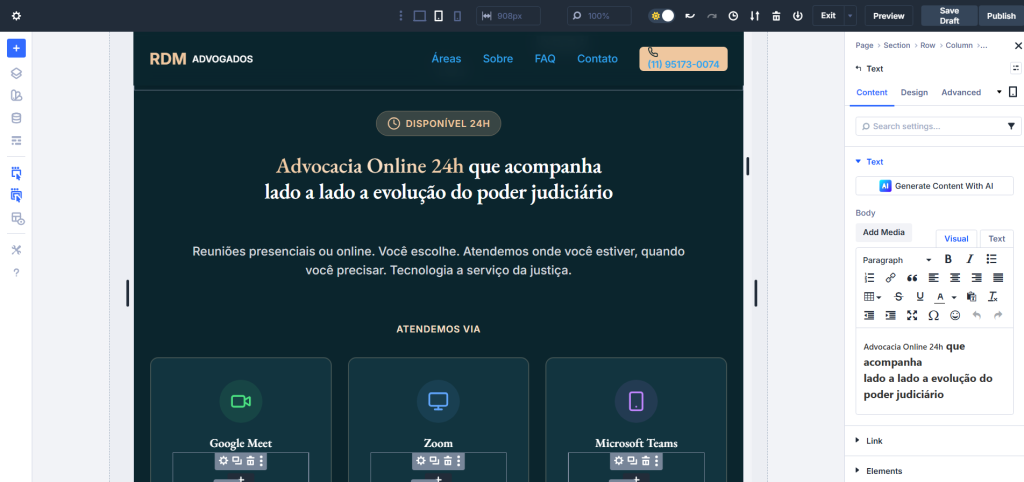
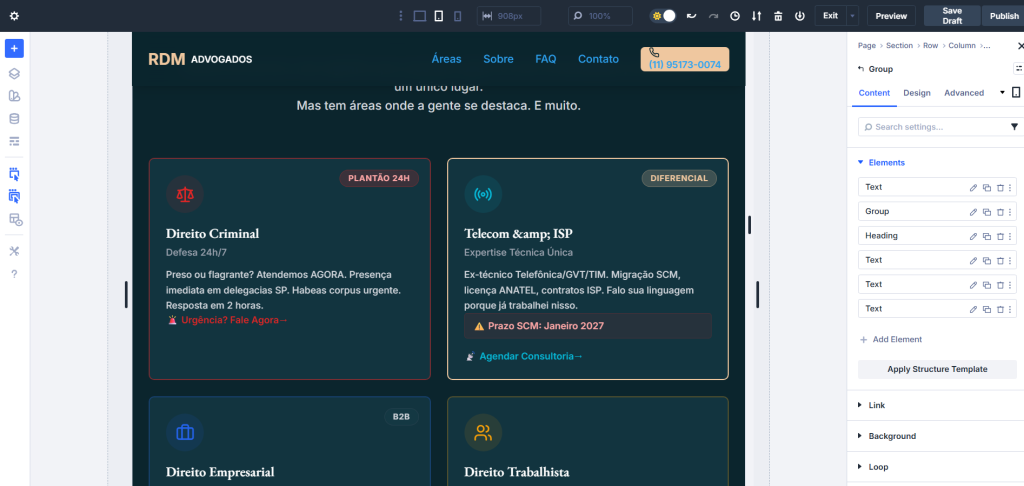
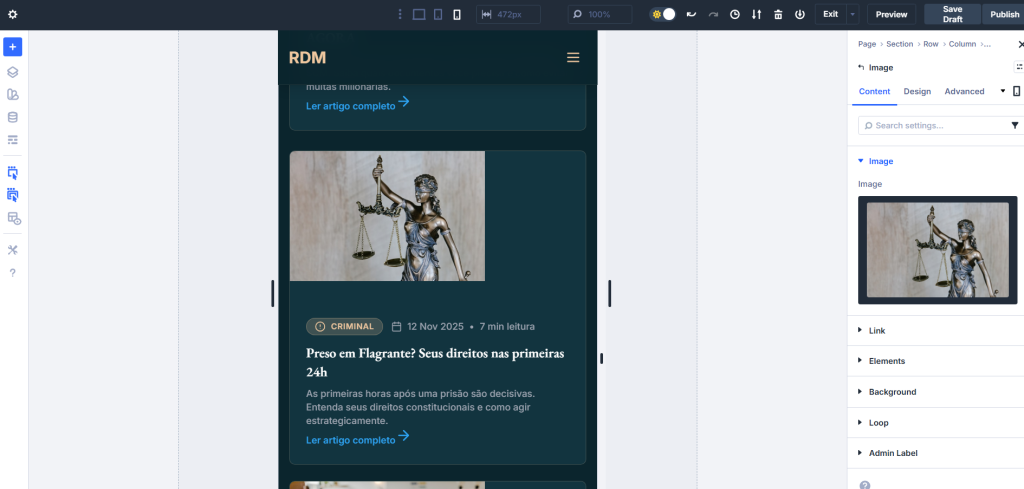
You can easily customize the content by clicking on elements.
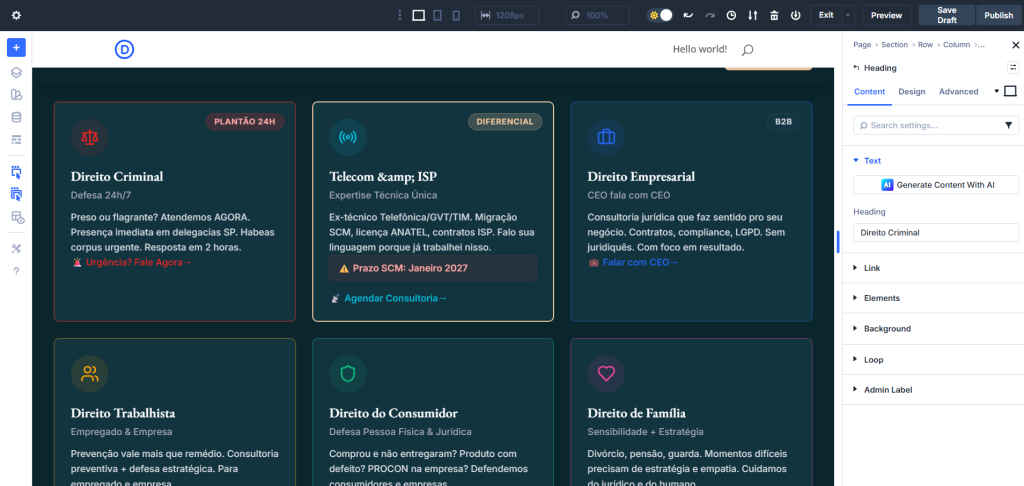
To customize the styles of elements, click on the Control tabs. Here, you can modify the font, color, size, and alignment of your selected element. You can also apply different background styles and effects to enhance the overall appearance.
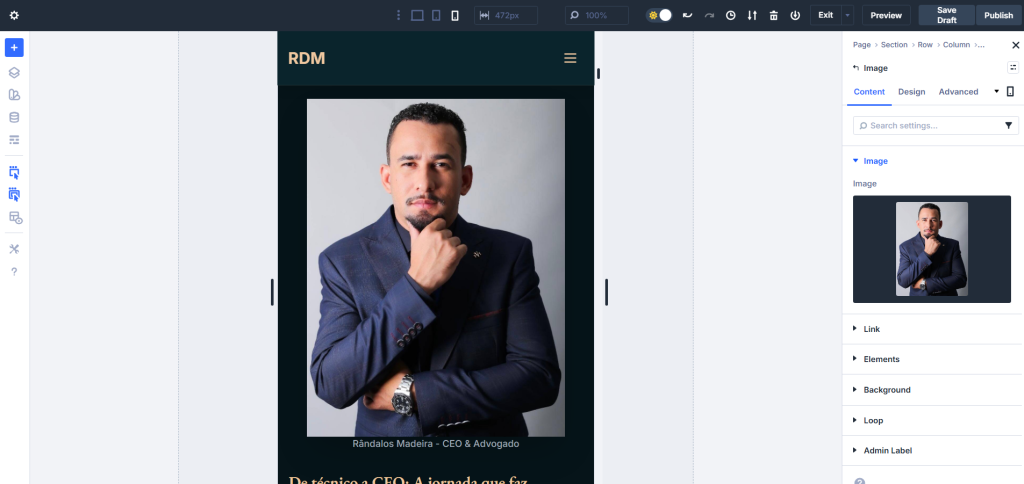
Responsive feature
When you switch between responsive devices, you will notice that all elements are automatically adjusted to fit the appropriate layouts.
Result in Tablet mode
Result in Mobile mode
Tutorial Video
Relevant documentation
For effortless and efficient creation of animation effects in a drag & drop editor, you can consult our tool, Litemove.